Thanks For Giving Me These Holiday Tips!

Thankful for Health

Thanksgiving is my favorite holiday – being surrounded by family, friends and food and acknowledging the many things for which we are thankful. While it’s okay to indulge (it is a holiday, after all), it’s important to be thankful for our health, our ability to reach this season, and treat our bodies well so that they can continue to care for us. This year, I have a lot to be thankful for! I’m thankful for my fiancé, who keeps me strong, challenges me and loves me unconditionally. I’m also thankful for the fact that I’ll be gaining an additional family in a few short months, and thankful for my own family who has always supported me, through college and grad school, my initial endeavors as a dietitian, and always playing the role of guinea pig when I want to try out a new recipe! I’m thankful for my new home in Florida, all of my new friends, my old friends who continue to stay close regardless of being miles apart, and the ability to do what I love everyday.

I’m also thankful for my attitude toward food, as I’m aware that it does not come easy to many people, and it didn’t always come easy to me, either. Food should be enjoyed, not villainized, and celebrated for all that it can do for us, and we should aim to choose foods that will provide nutrition, as well as joy. In the midst of casseroles, cookies and pies, it can be difficult to navigate the Thanksgiving table with health in mind. Below are some tips so that you can eat your turkey (and pie), and enjoy it too!

  • Start your day with some physical activity. Most of us consume more calories on Thanksgiving than on an average day, so burning some extra calories will help to offset the caloric intake to come. Also, exercise can allow you to burn some additional calories following your workout, although this amount is often small.
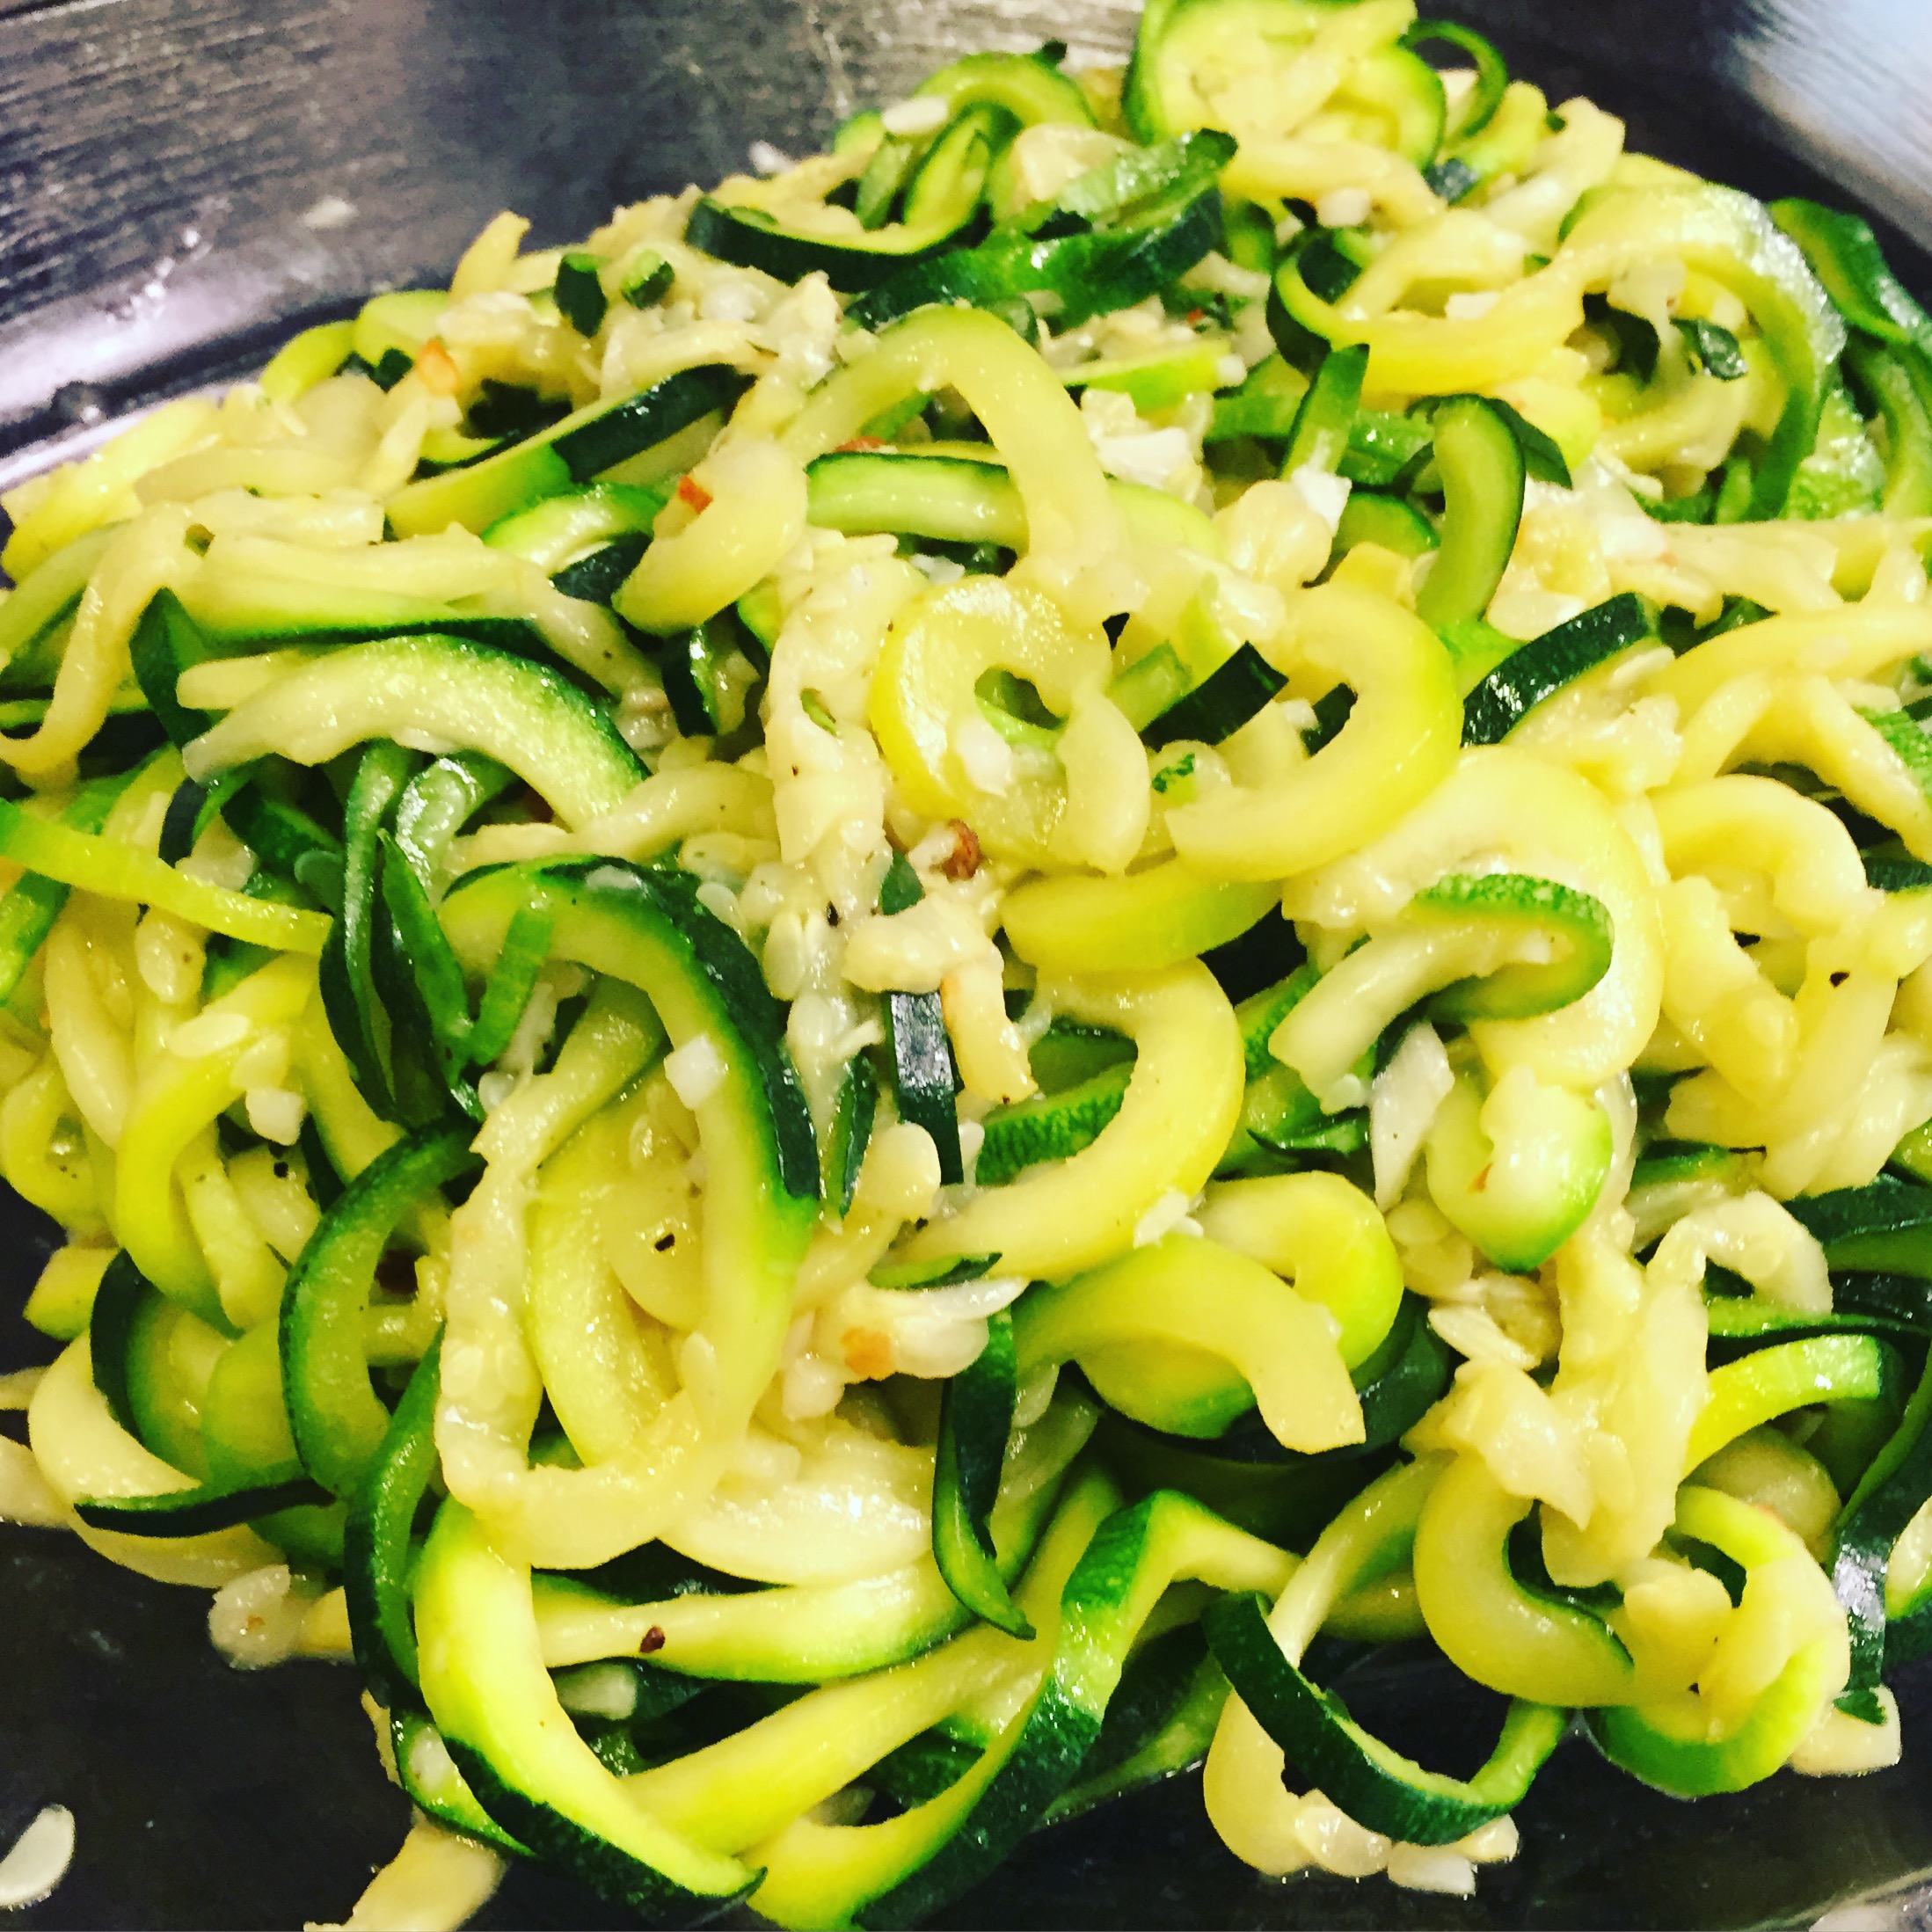
  • Focus on veggies. That may seem difficult on Turkey Day, but there are so many seasonal veggies to choose from right now and they’ll help you to fill up with fiber, water and give you a good dose of vitamins and minerals! Some in-season veggies to consider making the star of the show include Brussels sprouts, kale, winter squash, cauliflower and cabbage. My favorite Brussels sprouts recipe is just as tasty as it is pretty!
  • Turkey is a relatively lean protein, especially if you choose the breast meat (white meat). If you’re a turkey lover, feel free to enjoy the festive protein, keeping in mind that one 3 oz serving of poultry is approximately the size of a deck of cards.
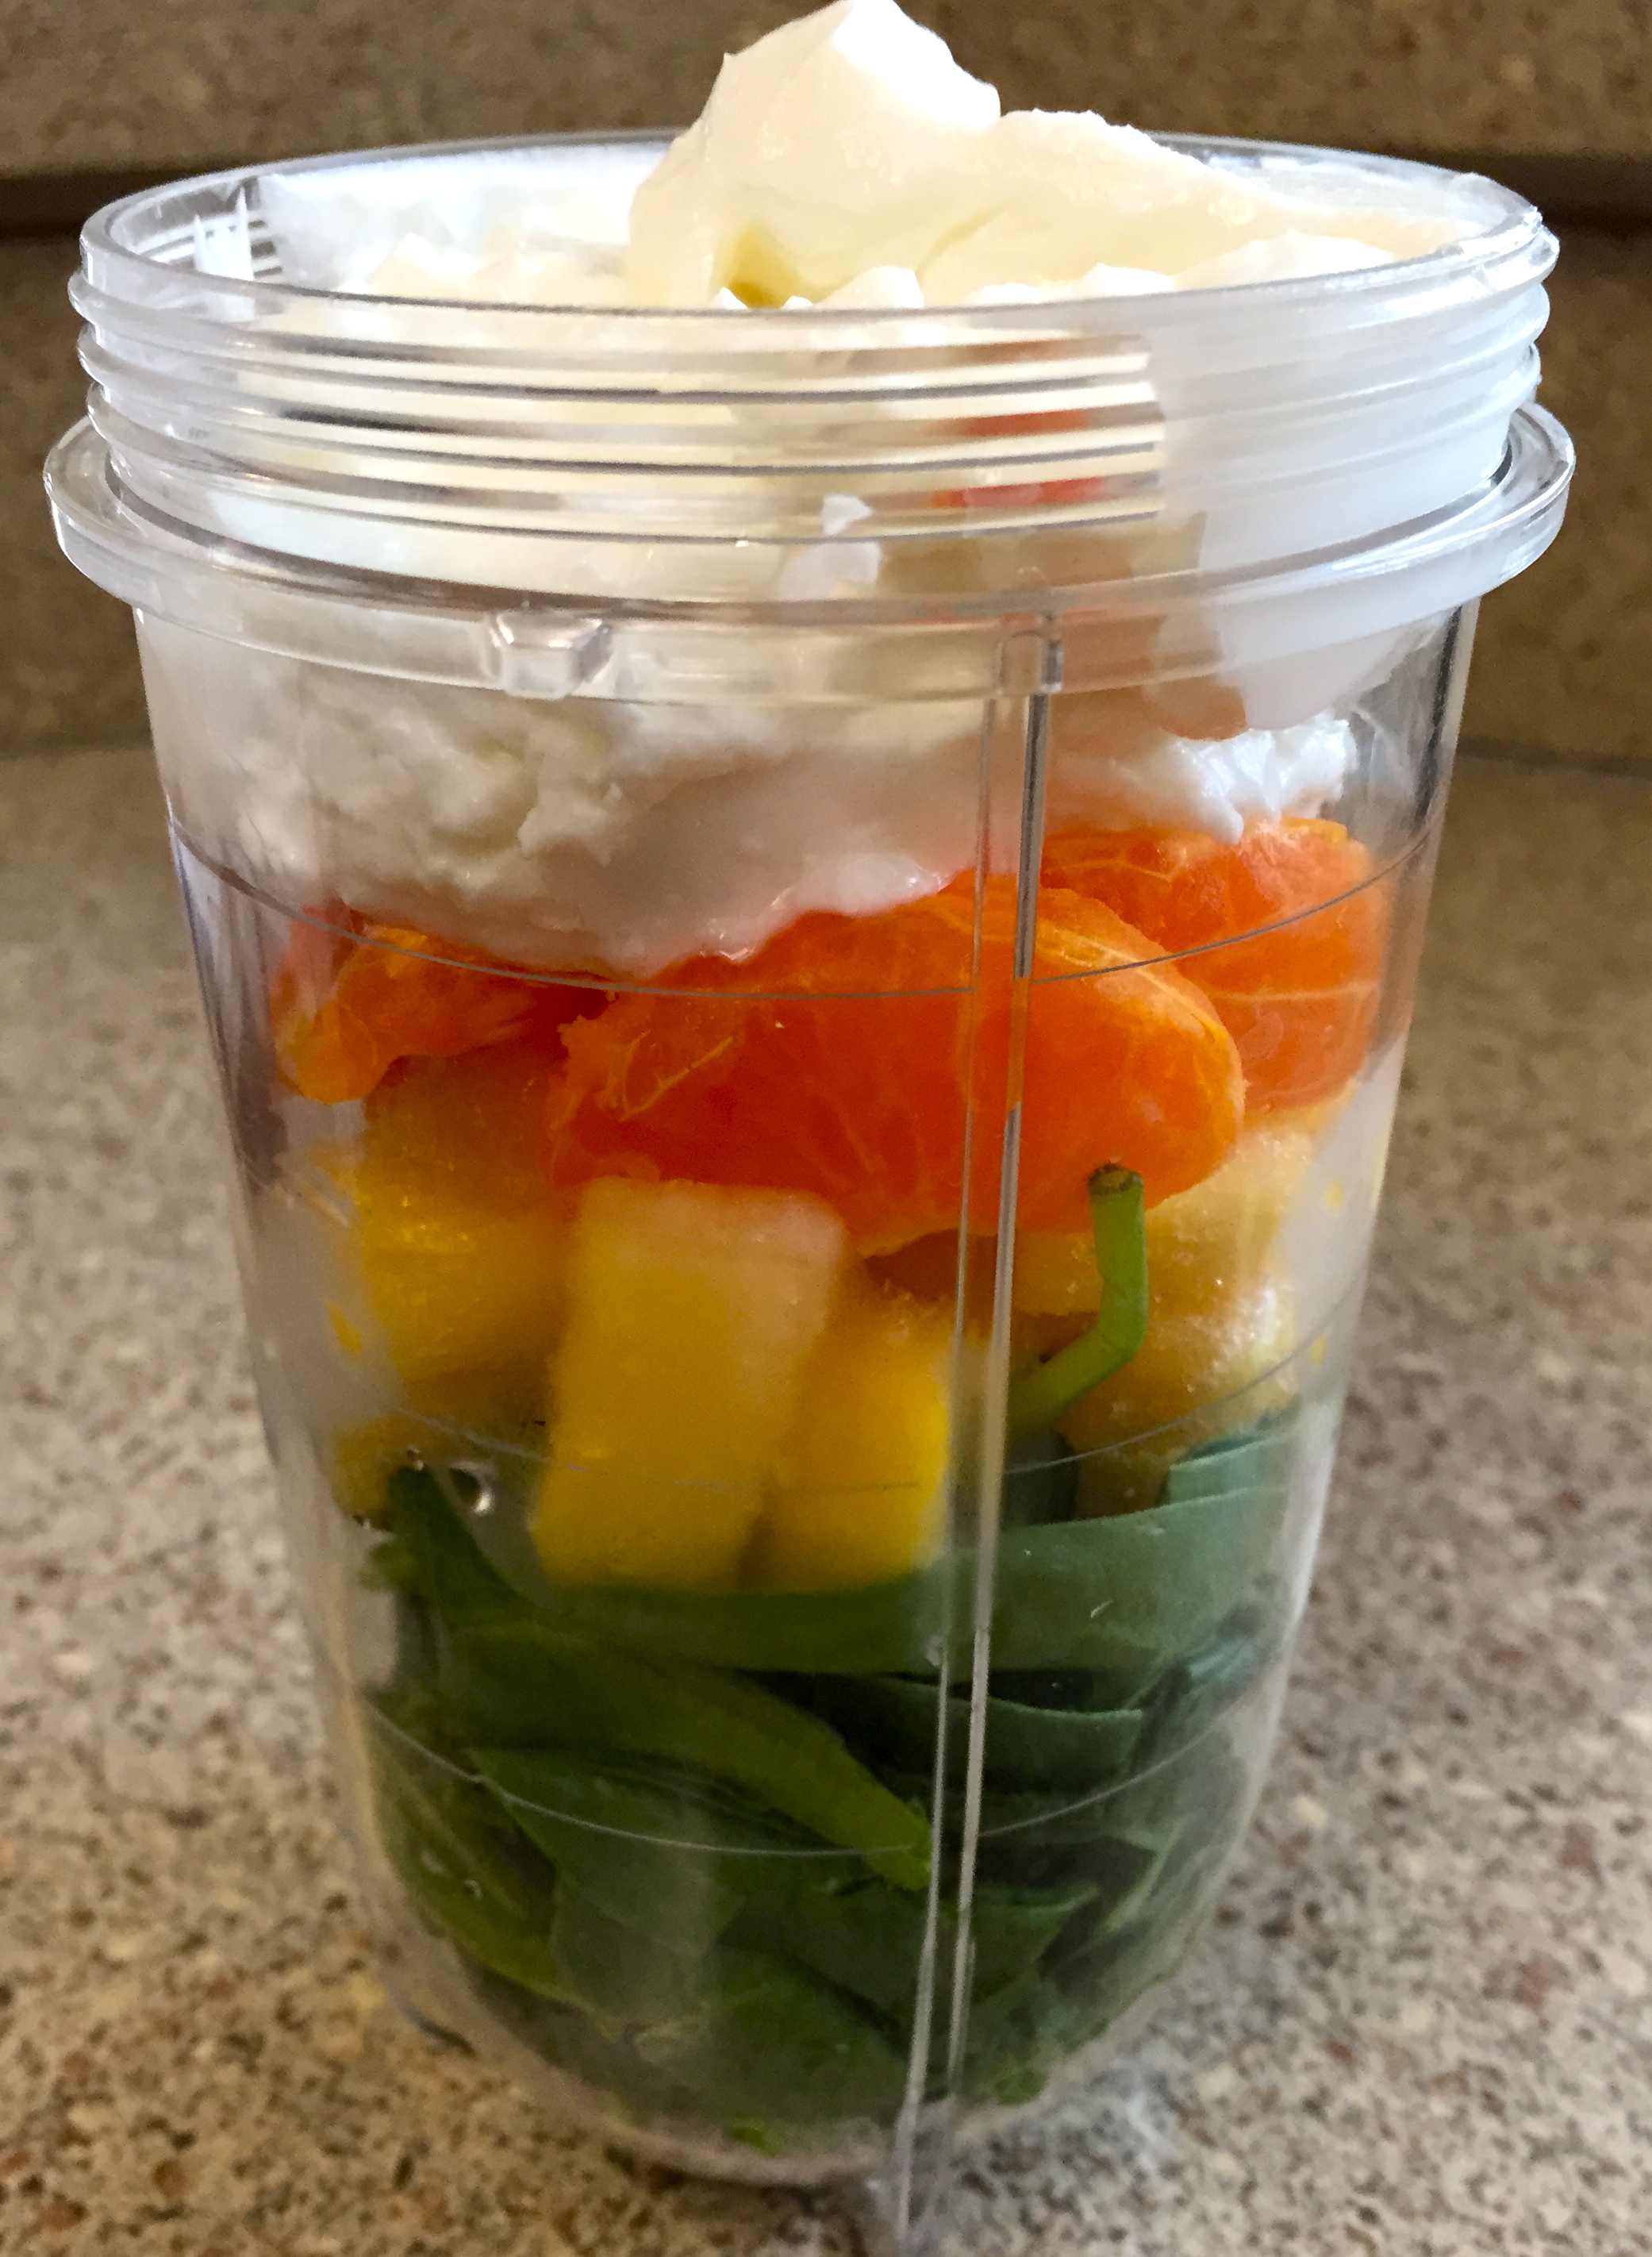
  • Stay hydrated. Drinking a glass of water and choosing foods that contain large amounts of water (like fruits and vegetables) can help you to feel more full, which means you may indulge less and keep portions reasonable. Also, if you’re drinking alcohol, make sure to alternate each drink with water and skip any high-sugar mixers.
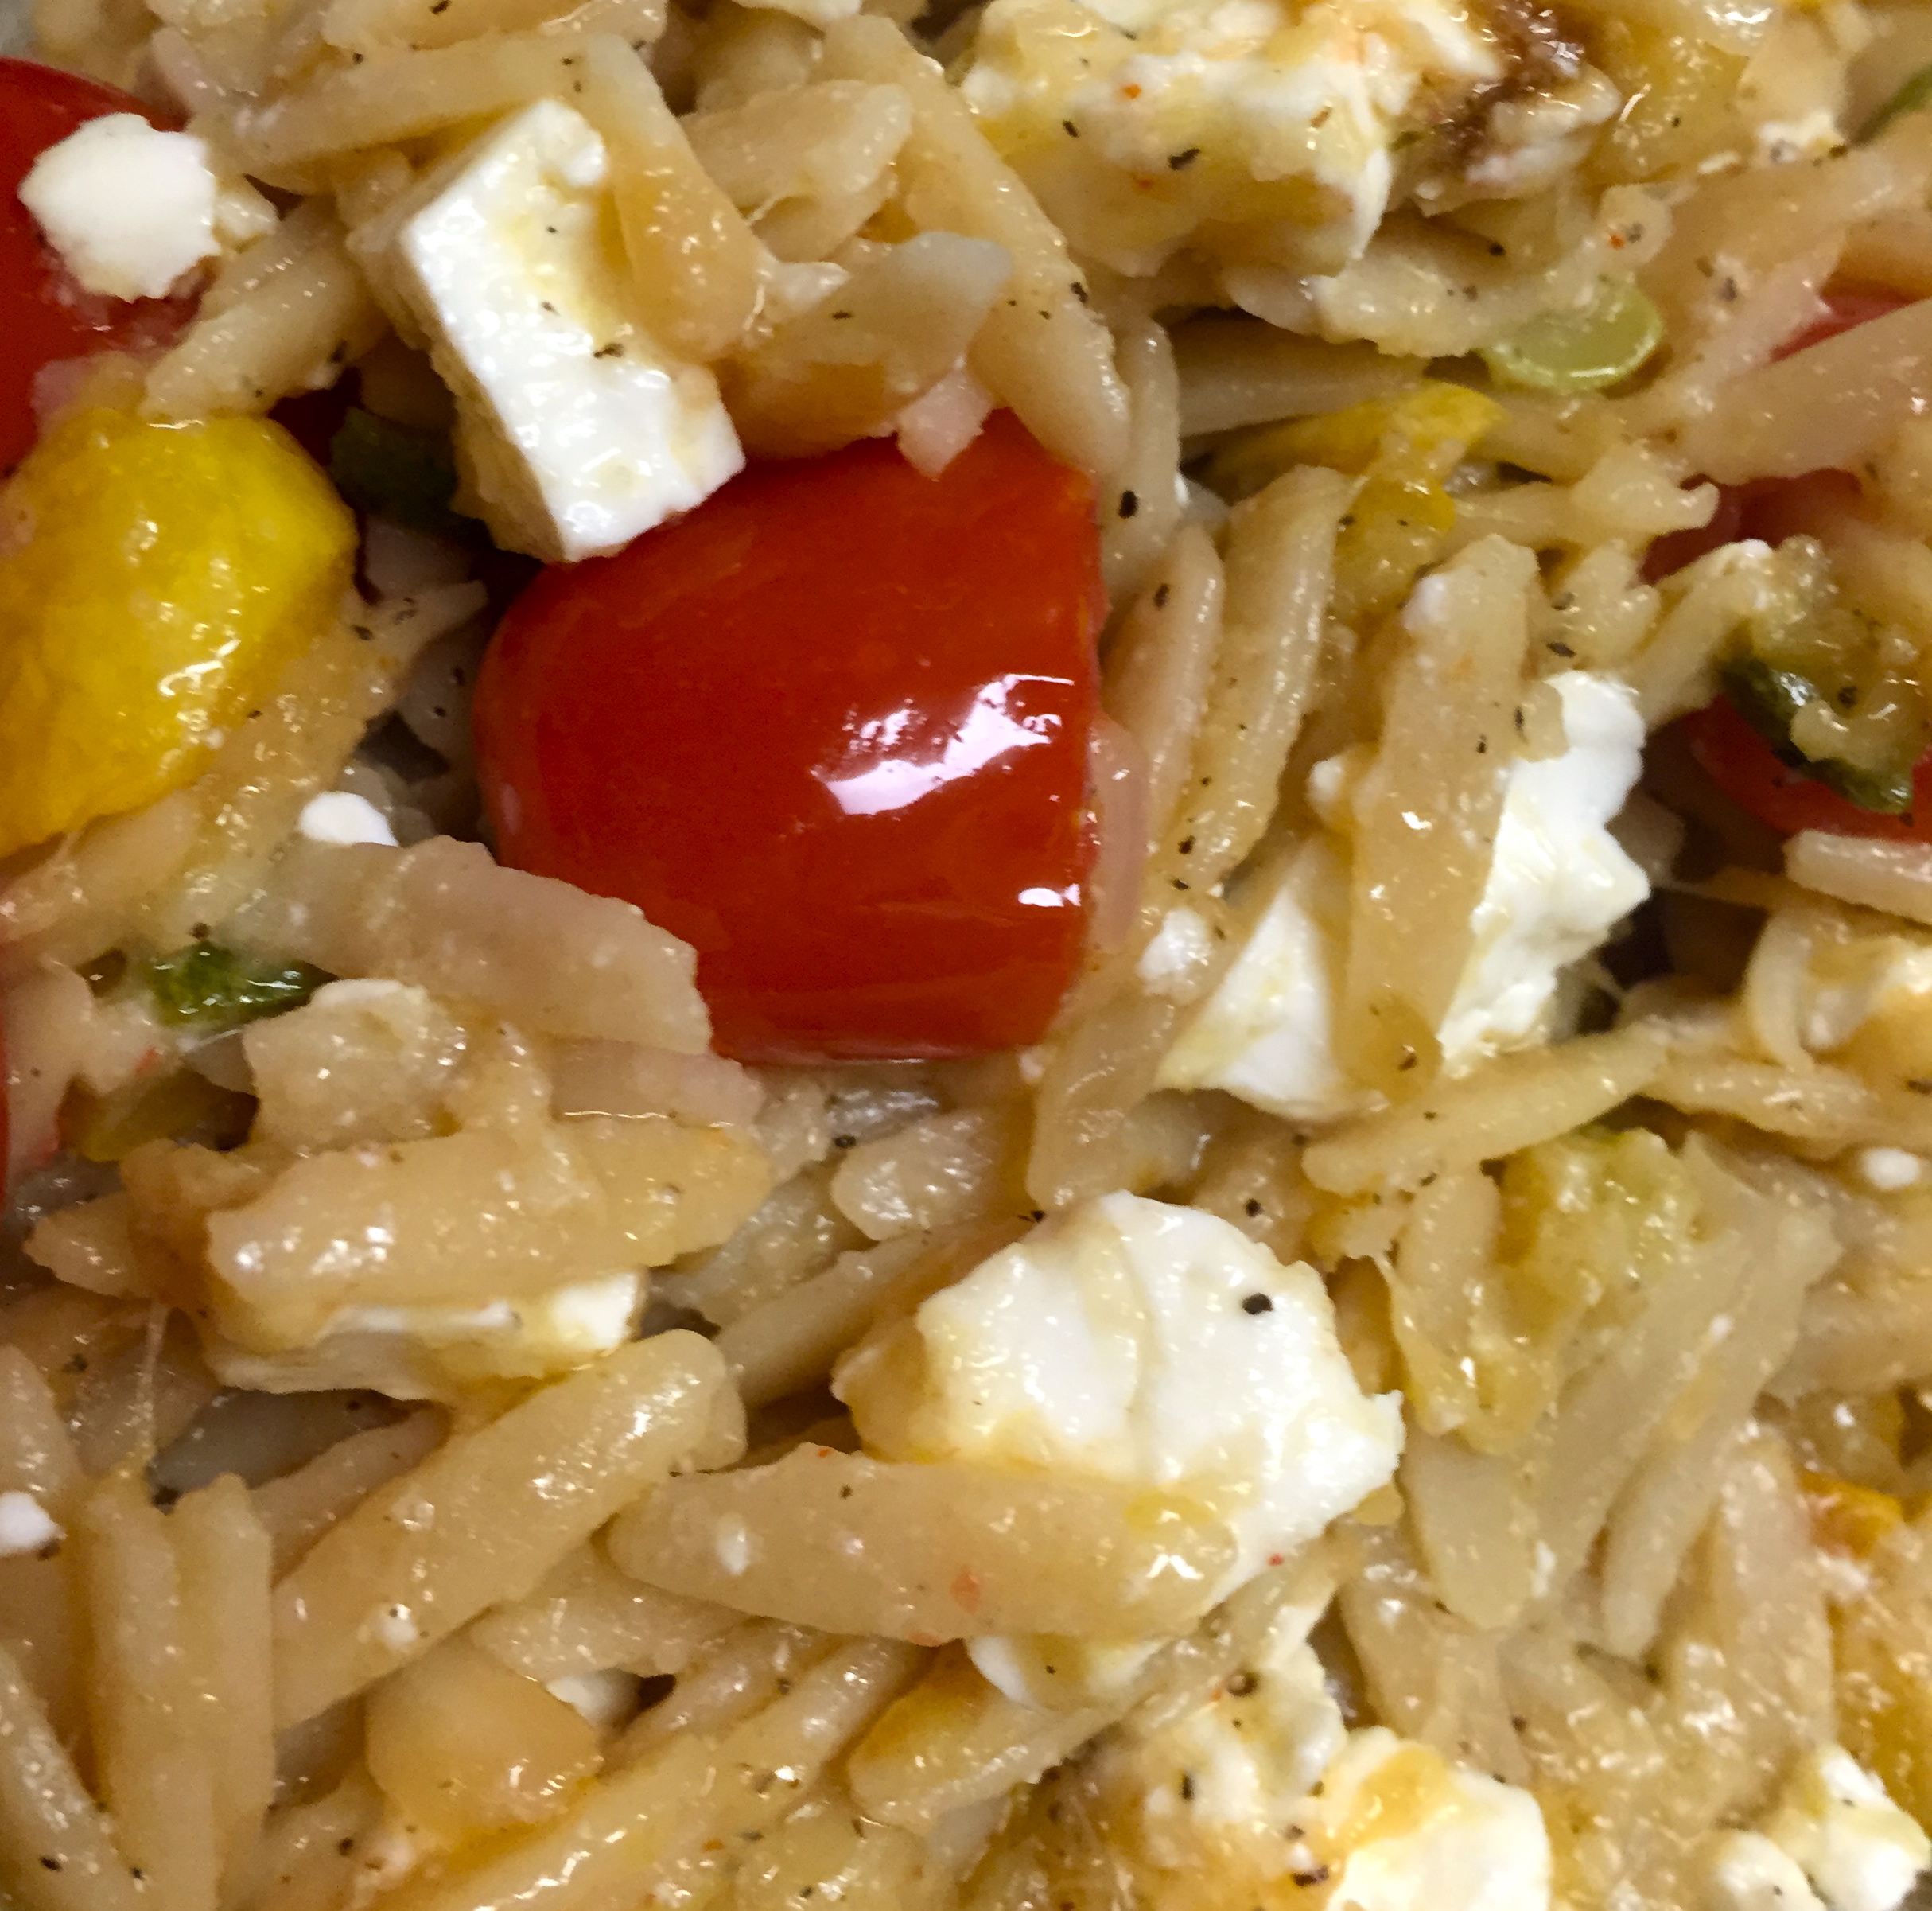
  • Choose whole grains over refined grains for side dishes. Try a recipe that features farro or quinoa (okay, so quinoa is technically a seed, but it’s consistency and properties are similar to a whole grain) for increased protein and fiber! Farro is my favorite, with a hearty, chewy texture that stands up to sauces and is also great on it’s own with some oil and veggies.
  • Consider serving a veggie-based soup before the meal, such as my pureed roasted cauliflower soup. This seasonal soup tastes creamy and hearty, but it’s relatively low in calories and will fill you up so you don’t overdo it during the main event.
  • Go for an evening stroll with some guests after dinner, which can help to stabilize blood sugar levels and add to your overall step count that day.
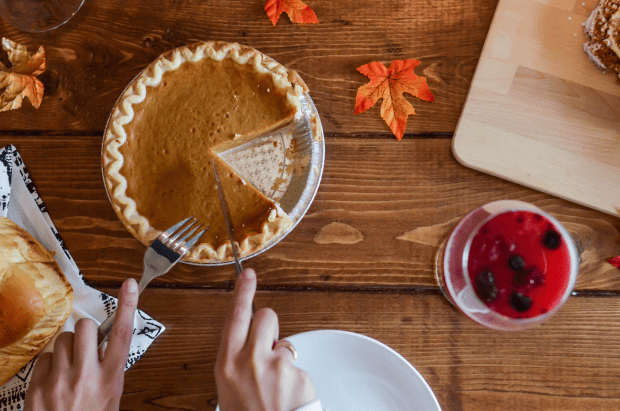
  • Don’t be fooled by desserts with a health halo – an avocado brownie is still a brownie, although it is likely to be a better alternative since it will have increased monounsaturated fatty acids, vitamins, minerals and fiber. Even if you offer some “healthified” dessert options, keep portions in check. Interested in sampling a few desserts because there are so many great options? Take small portions of a few and choose your favorite to possibly indulge in a larger piece. My favorite fall dessert? Pumpkin pie! Enjoy my favorite recipe here. More into chocolate? My chocolate goji bark is always a crowd pleaser!

thanksgiving

Advertisement

Baked Spinach Artichoke Protein Pasta

Baked Spinach Artichoke Protein Pasta

Meal Prep is easiest when you can make a large batch of one thing that can last through the beginning of a crazy week. One of my favorite foods to prep in advance is pasta – it’s always great warmed up and holds up well in the fridge or the freezer. This recipe was originally presented at a Culinary Workshop class I recently helped to lead, and I adapted it, pumped up the protein with legume-based pasta and Greek yogurt and used my Skinny Spinach Artichoke Dip as a base to make it my own. The result was creamy, spinach artichoke deliciousness – and a ton of leftovers – perfect for a busy week ahead!

spin-art-pasta-3

Ingredients (Serves 8):

8 oz legume-based pasta, dry (I used Banza pasta- a chickpea pasta with added pea protein!)

1 medium onion, chopped

1 large garlic clove, minced

1 Tbsp olive oil

1 1/2 C plain, 2% Greek yogurt

2 Tbsp all purpose flour

1/2 C parmesan cheese, grated

3/4 C part-skim mozzarella, shredded

2 Tbsp smoked paprika

2 tsp garlic powder

1 can (about 15 oz) artichoke hearts, drained well (if salted, rinse and drain to remove excess sodium)

3 Cups frozen, chopped spinach, thawed

1/4 C low sodium vegetable broth

1/2 tsp ground black pepper

Nonstick oil cooking spray

spin-art-pasta-1

Now just stir in pasta!

Directions:

  1. Bring a large pot of water to boil (add a dash of salt if desired).
  2. Preheat oven to 350 degrees Fahrenheit.
  3. While water is boiling, squeeze out any excess water from the spinach and artichokes (they must be dry before adding to recipe). Set aside.
  4. Heat oil in medium-sized skillet over medium heat. Add onion, stir and sauté for about 4-5 minutes. Add minced garlic, stir, and sauté for another 2-3 minutes. Remove from heat and set aside.
  5. Add pasta to boiled water and cook according to directions on package, stirring occasionally. Watch the pasta closely, as many legume-based pastas can get mushy quickly! Be careful not to overcook.
  6. In a large mixing bowl, combine yogurt, flour, spices (paprika, garlic powder, ground black pepper), parmesan cheese and about 1/4 of the mozzarella cheese. Add spinach, artichokes, onion/garlic mixture and vegetable broth and stir until ingredients are well combined.
  7. Once pasta is cooked, drain in a colander and add to mixing bowl. Stir all ingredients until pasta is coated well with yogurt mixture.
  8. Spray a casserole dish (9 x 13 inches) with nonstick cooking spray, add pasta and yogurt mixture to dish and spread evenly with a spoon or spatula. Bake in the oven for 25 minutes. After 25 minutes, remove from oven, add the remaining mozzarella cheese on top of the pasta and bake for another 5-10 minutes, until cheese is melted. Serve and enjoy!

The Goods: What’s Inside?

Nutritional Analysis Per Serving: Calories 262 calories, Total Fat 8 g, Saturated Fat 4 g, Cholesterol 15 mg, Carbohydrates 29 g, Fiber 7 g, Protein 19 g, Sodium 318 mg, Calcium 274 mg

spin-art-pasta-2

Ready to bake in the oven!

Cauliflower “Fried Rice”

Cauliflower Fried Rice

This “fried rice” takes care of that comfort-food craving, without all of the calories. This veggie-filled dish is topped with eggs and chicken – lean protein sources that are sure to fill you up – and comes in at about 300 calories per serving!

cauliflower fired rice

Ingredients (serves 4):

1 1/2 lbs. cauliflower “rice” (you can buy this at many grocery stores, or you can simply cut a large head of cauliflower into small pieces)

1 lb. chicken breast cutlets

1 medium sweet onion (or you can use scallions), chopped

1 yellow squash, chopped

1 zucchini, chopped

2 large cloves garlic, minced

3/4 C carrots, sliced

1/2 C frozen peas, thawed

1 1/2 Tbsp olive oil

1 tsp rice vinegar

3 Tbsp teriyaki sauce ( I like Trader Joe’s Soyaki) – just watch out for sodium and sugar!

Nonstick vegetable oil cooking spray

Dash ground black pepper

1/2 tsp onion powder

1/4 tsp garlic powder

1 large egg plus 1 large egg white, scrambled (raw)

chicken stir fryDirections:

  1. Cut chicken into small pieces. Spray large saucepan or wok with nonstick vegetable oil cooking spray. Add 2 tsp olive oil and warm over medium heat. Add chicken and 1 1/2 Tbsp teriyaki sauce and cook until cooked through (about 10-15 minutes), stirring occasionally. Remove chicken from pan and set aside.
  2. Steam carrots (you can use a steamer or place in microwave safe bowl, add a splash of water, cover and cook on “high” for about 2 minutes, until softened and bright.
  3. Add 1 tsp olive oil to pan and warm over medium heat. Add onions, zucchini, yellow squash and spices (ground black pepper, onion powder, garlic powder) and cook until softened, about 10-12 minutes. Add minced garlic, peas, carrots and another 2 teaspoons teriyaki sauce. Cook another 5-7 minutes, remove from pan and add to dish with chicken.
  4. Add remaining olive oil and remaining  teriyaki sauce to pan and warm over medium-high heat. Add cauliflower “rice”and sauté for approximately 5 minutes. Add scrambled eggs and stir until cooked through. Add chicken and veggies, stir until well combined and remove from heat. Serve and enjoy!

veggies stir fry

The Goods: What’s Inside?

Nutritional Analysis Per Serving:

Calories 300 calories, Total Fat 9 g, Saturated Fat 2 g, Cholesterol 112 mg, Carbohydrates 23 g, Fiber 7 g, Protein 35 g, Sodium 431 mg, Calcium 96 mg


Why Take-Out When You Could Dine In?

Whole Wheat Cous Cous With Chickpeas, Edamame and Peanuts in a Peanut Butter Sauce

This take-out inspired dish is filled with peanut butter-y goodness and offers a fun, different way to enjoy vegetarian protein. Filled with fiber, protein and lower in calories and sodium than traditional take-out, this homemade version will become your new busy night go-to dish!

couscous


Ingredients (serves 6):

Peanut Butter Teriyaki Sauce:

1/3 C natural, creamy peanut butter

2 Tbsp teriyaki sauce (I like Trader Joe’s Soyaki Sauce)

2 Tbsp rice vinegar

1/4 C water

1/2 tsp hot sauce (I like Cholula or Frank’s Red Hot)

dash crushed red pepper flakes (depends how hot you like it!)

dash ground ginger

*optional: ~1/2 tsp honey to create a sweeter peanut sauce (not included in nutritional analysis)

pb sauce

Peanut Sauce!

Stir Fry:

1 C whole wheat cous cous, dry

1/2 large onion, chopped

1 garlic clove, minced

3/4 C carrots, shredded

1 can (15 oz) garbanzo beans (try to find a brand with no added salt – or rinse and strain beans to remove excess salt)

1/4 C edamame, shelled,  unsalted and ready-to-eat

5 oz baby bok choy (about 4-5 baby bok choy)

2 Tbsp water

1/4 C peanuts, roasted and unsalted (just the kernels)

*Note: Depending on whether or not you use a nonstick skillet, you may want to add either a nonstick vegetable oil spray or a small amount of olive oil to your skillet in the third step (while you add the spoonful of sauce). If adding olive oil, note that 1 Tbsp olive oil has about 120 calories and 14 grams of fat  (this is not accounted for below in the nutritional analysis). 

Directions:

  1. Mix all sauce ingredients in a medium bowl until well-combined. Set aside.
  2. Cook the cous cous according to box directions (I bring 1 C water to a boil, add 1 C dry cous cous, stir, remove from heat, cover and allow to sit for about 5-7 minutes, until all water is absorbed and cous cous is fluffy).
  3. Add a small spoonful of peanut sauce to a large skillet or wok and heat over medium heat. Add onion, garlic, carrots and chickpeas and cook for about 5 minutes, stirring occasionally, until onion is translucent and slightly browned.
  4. Add edamame, baby bok choy and 2 Tbsp water, stir and cover for approximately 3-5 minutes, until baby bok choy is bright green and softened. Add peanuts, stir and cook another 2-3 minutes, uncovered.
  5. Add cous cous and the remaining peanut sauce to skillet and mix all ingredients until well combined. Serve and enjoy!

The Goods: What’s Inside?

Nutritional Analysis Per Serving

Calories 321 calories, Total Fat 11 g, Saturated Fat 2 g, Cholesterol 0 mg, Carbohydrates 39 g, Fiber 7 g, Protein 14 g, Sodium 438 mg, Calcium 82 mg

skillet couscous

Cream-Free Creamy Coleslaw!

Creamy Coleslaw

coleslaw

This coleslaw will have you thinking you’re digging into a mayo-filled bowl of slaw, but I swapped Greek yogurt for the traditional sour cream and mayo to give this bowl of veggies some creamy flavor, without all of the calories. A slaw with some protein and calcium for less than 50 calories per serving? Now you can have your slaw and eat it, too!

Ingredients (yields about ten 1/2-cup servings):

5 C shredded broccoli, carrots, cabbage or any other veggie you love! (I like the Trader Joe’s brand “Shredded Broccoli Slaw” package, which comes with 5 C shredded broccoli stalk and carrots – easy!)

1/4 C roasted sunflower seeds, unsalted

1 C 0% fat, plain Greek yogurt

1/3 C red wine vinegar

1/4 tsp salt

1 Tbsp ground black pepper

1 Tbsp onion powder

2 tsp garlic powder

Now just mix with veggies!

Now just mix with veggies!

Directions:

  1. Empty shredded veggies into large mixing bowl. Add sunflower seeds.
  2. In a separate (smaller) bowl, whisk together Greek yogurt, vinegar, salt, pepper, onion powder, garlic powder until well combined. The dressing will have a creamy consistency.
  3. Pour the dressing over the slaw and use tongs to mix all ingredients together so that the slaw is coated with the dressing.
  4. Cover bowl or transfer into an airtight container and chill in the fridge for at least 1-2 hours, or until slaw is slightly wilted. Serve chilled and enjoy!

The Goods: What’s Inside?

Nutritional Analysis Per Serving (1 serving = about 1/2 cup)

Calories 49 calories, Total Fat 2 g, Saturated Fat 0 g, Cholesterol 0 mg, Carbohydrates 5 g, Fiber 1 g, Protein 4 g, Sodium 84 mg, Calcium 46 mg

I served my coleslaw with a homemade turkey burger!

I served my coleslaw with a homemade turkey burger!

Not Your Average Pasta Dish: Whole Wheat Orzo With Veggies And Feta Cheese

Whole Wheat Orzo With Roasted Veggies And Feta Cheese

This whole wheat orzo salad is delicious hot or cold and is a great dish to make ahead for the busy week or for entertaining. At under 250 calories per serving and chock full of  fiber and so many vitamins and minerals, this colorful side dish is a perfect way to enjoy  the season’s best veggies while they’re still available!

IMG_4528

Ingredients (serves 6):

8 oz whole wheat orzo

1 medium zucchini

1 medium yellow squash

1/2 medium onion (I like to use vidalia onions)

1 clove garlic, minced

10-15 cherry tomatoes, halved

1 1/2 Tbsp canola oil

1/2 Tbsp olive oil

3 oz reduced-fat feta cheese

1 tsp ground black pepper

1/2 tsp salt

1/8 tsp cayenne pepper

Nonstick vegetable oil cooking spray

Roasted veggies!

Roasted veggies!

Directions:

  1. Preheat oven to 425 degrees Fahrenheit. Spray a baking sheet with non-stick vegetable oil cooking spray
  2. Dice zucchini, yellow squash and onion. Place on baking sheet and add minced garlic, canola oil, cayenne pepper, ground black pepper and salt. Bake in oven for about 25-30 minutes, stirring occasionally.
  3. Boil water and cook orzo according to directions on package.
  4. Add tomatoes to roasted vegetables, stir and bake for another 10-15 minutes, until vegetables are slightly browned and tomatoes are softened.
  5. Drain orzo once cooked. Add olive oil to clean pot and add orzo and vegetables. Add feta cheese and cook on low heat for about 5 minutes.

The Goods: What’s Inside?

Nutrient Analysis Per Serving

Calories 214 calories, Total Fat 8 g, Saturated Fat 2 g, Cholesterol 4 mg, Carbohydrates 32 g, Fiber 5 g, Protein 10 g, Sodium 397 mg, Calcium 72 mg

I served seared scallops over my orzo salad! That recipe will be posted on FuelMyFIt, too!

I served seared scallops over my orzo salad! That recipe will be posted on FuelMyFIt, too!

1

1

Greens Smoothie

Greens Smoothie

This has been my new go-to breakfast for busy mornings – you can make it in about 3 minutes or less, or you can even make it the night prior. Even though it’s bright green, don’t let the color scare you away. This smoothie is sweet, nutritious and packed with protein and vitamin C. Also, the vitamin C in pineapple and clementine help your body to absorb the iron present in spinach more readily – talk about a power breakfast. I usually eat 1-2 egg hard boiled eggs or egg whites to increase the protein content, or you can enjoy this smoothie as a mid-day pick-me-up!

IMG_4289

Ingredients (serves 1):

1 cup spinach, packed

1/3 C frozen pineapple chunks (make sure the only ingredient is pineapple – no added sugar or syrup!)

1 clementine, peeled and sectioned

1/2 C plain, 0% fat Greek yogurt

Ready to blend!

Ready to blend!

Directions:

  1. Place spinach all ingredients in blender (I used my Magic Bullet). Blend until well combined (you may need to blend it for about 2 minutes in order to get all of the spinach leaves fully incorporated). How easy was that?! *Note: you can make this overnight and store in your fridge to grab on your way out the door the next morning – just keep it covered.

The Goods: What’s Inside?

Nutritional Analysis Per Serving

Calories 137 calories, Total Fat 0 g, Saturated Fat 0 g, Cholesterol 0 mg, Carbohydrates 22 g, Fiber 3 g, Protein 14 g, Sodium 68 mg, Calcium 185 mg

This breakfast could be grab-and-go, but it took so little time to make that I just enjoyed it at home!

This breakfast could be grab-and-go, but it took so little time to make that I just enjoyed it at home!


Oodles of Zoodles

Zucchini Noodles with Garlic, Oil and Crushed Red Pepper Flakes

This spicy veggie dish is a healthy addition to your busy schedule – from prepped to cooked it takes less than 10 minutes! The summer squash is a low-carb, vitamin C-rich alternative to pasta and offers a lighter way to fill up with water and fiber. Serve as a side dish or include lean protein (chicken, shrimp, scallops, etc.)  for a meal.

IMG_4208

Ingredients (serves 2)

1 large zucchini

1 Tbsp olive oil

1 clove garlic

1 tsp crushed red pepper flakes (use more or less depending on your love for spice!)

1/4 tsp salt

1/2 tsp ground black pepper

Directions:

  1. Slice zucchini into thin ribbons (I used my Vegetti tool for this – if you don’t have a tool similar to the Vegetti, you can get this effect by using a vegetable peeler to peel the entire zucchini). Pat dry with paper towel to remove excess moisture. Set aside.
  2. Mince garlic clove. Set aside.
  3. Warm olive oil in skillet over medium heat. Add zucchini noodles with minced garlic. Add spices (salt, pepper and crushed red pepper). Sauté until zucchini is heated through and slightly softened, but do not let the zucchini noodles become very limp. Stir occasionally. Divide amongst two plates and enjoy!

The Goods: What’s Inside?

Nutritional Analysis Per Serving:

Calories 90 calories, Total Fat 8 g, Saturated Fat 1 g, Cholesterol 0 mg, Carbohydrates 6 g, Fiber 2 g, Protein 2 g, Sodium 304 mg, Calcium 29 mg

Just BEET It!

beets

What’s the deal with beet juice? It’s being used as an all natural exercise supplement over recent years, but why?

Beet juice is a great pre-workout drink because it’s ability to enhance oxygen flow to the muscles translates to enhanced fuel utilization through aerobic metabolism (which requires oxygen to break down food into energy that can be used by the body). Enhanced fuel utilization may delay feelings of fatigue, as well as lactic acid buildup (the burning sensation often felt during exercise as a result of anaerobic metabolism), which can lead to stronger workouts.

Nitrate can be converted to nitrite by bacteria located in saliva via the enzymes called nitrate reductases. Nitrite can then be reduced to nitric oxide (NO) by a variety of enzymes, which remain to be the subject of study (and still remain controversial). NO then enhances vasodilation (widening of blood vessels) through signaling via soluble guanylate cyclase, which ultimately allows for increased blood flow and increased oxygen and nutrient delivery to muscles. It should be noted that the existence of oral bacteria is essential for this conversion to occur, and so the use of antibacterial dental products (such as mouthwash or antibacterial gum) is not recommended directly before consuming nitrate-rich foods and beverages.

How do beets (and other veggies) get their nitrates?

While plants may receive small amounts of nitrates from the air and water, the majority of nitrates are usually delivered to the plant from soil. Specifically, nitrogenous sources in the soil can be converted to ammonia, which can then be converted to nitrates by bacteria. The plant can then absorb the nitrates to use for development and growth. High-nitrogen soils now exist in order to enhance nitrate absorption by the plant. Since the majority of nitrates used by the plant come from the soil, fruits and vegetables that grow in the ground (like beets!) generally contain a higher amount of nitrates.

I thought nitrates were bad for me? I’m told to avoid them in meat…

The difference between nitrates in processed meats and those found in fruits and vegetables has to do with other existing compounds in the food. Nitrates can be converted to small amounts of nitrosamines (carcinogenic compounds) in the presence of protein and heat (>300oF). However, fruits and vegetables do not contain the amounts of protein required for this reaction to occur. Additionally, veggies can also be consumed raw, meaning heat is not present, either. Regardless, both protein and heat are required for nitrosamines to form, so nitrates in fruits and veggies are safe.

So how do I use beet juice to my benefit?

Beet juice is generally used as an ergogenic aid (or an exercise supplement) prior to aerobic exercise (running, biking, etc.). Ideally, beet juice should be consumed about 15-30 minutes before the event (whether it is a race or training). This allows time for vasodilation to occur throughout the beginning of the exercise. Always remember to check regulations of your sport if this is not for recreation, to ensure that beet juice is allowed. Also, remember that consumption of beet juice does not guarantee an improvement in training or time – rather, the literature to date suggests that it may benefit the production of nitric oxide, which in turn could promote vasodilation and may lead to less fatigue during a workout.

*beet photo courtesy of: http://www.elizabethrider.com/wp-content/uploads/2013/09/benefits-of-beets.jpg

Why Your Fridge Should Change With The Seasons

Eating Seasonally

Last week, I developed and promoted a seasonal recipe at Disney ABC as a part of my internship rotation. The recipe was simple, fresh, healthy and most importantly, it was delicious. In fact, it sold out at the company’s cafe that day! While most people were drawn in by the free samples, I got to chat to a number of employees about the benefits of eating seasonally and locally and it was so great to connect with individuals and learn about how other people prioritize nutrition and our environment to promote clean eating (for your body, as well as our home).

Serving up some free samples at Disney ABC!

Serving up some free samples at Disney ABC!

Spreading Local News

Since the recipe and the nutrition news were such a hit, I thought I would share it with all of you! Below are some of the reasons why eating locally and seasonally can be beneficial:

  • Eating seasonally means produce is often more nutritious, since it is at its nutritious peak, and less expensive, since it grows more abundantly  (a win win!)
  • Produce often tastes better when it is in season (which is why that watermelon tastes so amazing in July!)
  • Eating locally is often “greener”, since food spends less time in transit (meaning it takes less fuel to get it to its destination)
  • You can try all of the tasty treasures the season has to offer and learn how to prepare a new food that you wouldn’t typically purchase (bonus – if you purchase from a farmer’s market, they will often answer any questions you may have and explain how to prepare the food)
  • You can grow your own! Summer is a great time to grow cucumbers, tomatoes and strawberries!
A close-up of the samples!

A close-up of the samples!

Local Kale Salad With Citrus Vinaigrette:

Kale is a nutrition powerhouse that grows well throughout the year in locations near New York City, since it can thrive in cooler environments, as well as during the summer months. This means that kale is widely available year-round near New York City. Since kale can be grown and sold locally, it is truly a GREEN veggie!

Kale offers a ton of nutrition packed in to each leaf, and comes in a variety of kinds! Make sure to try each variety, including Curly Kale, Ornamental Kale and Dinosaur kale (also known as Tuscan Kale)

Kale is a significant source of vitamins K, A and C, as well as calcium and potassium. Also, kale offers a hearty dose of fiber and is nutrient dense – meaning it contains a lot of nutrition for a small amount of calories.

All of the fresh ingredients for this salad (including the kale, tomatoes, cucumbers, feta cheese and lemon juice) were purchased locally – and this salad was a local hit!

IMG_3641

Ingredients (serves 2):

1 C Raw kale leaves, large stems removed

1/4 C cherry tomatoes, halved

1/2 large cucumber (about 8″ in length)

1/4 oz feta cheese, crumbled (about 1 Tbsp)

2 Tbsp lemon Juice

½ Tbsp extra Virgin Olive Oil

2 Tbsp red Wine Vinegar

Dash salt (to taste)

Dash pepper (to taste)

 Directions:

  1. Wash and dry kale. Place in large mixing bowl.
  2. Slice cucumber and cut slices into quarters. Set aside.
  3. Cut tomatoes into small pieces (approximately 1” in diameter). Set aside.
  4. Combine lemon juice, red wine vinegar and oil in a medium-sized bowl and whisk together until ingredients are well combined. Pour over kale and use gloved hands to massage the dressing into the kale. The kale should begin to look slightly wilted after about 3-5 minutes.
  5. Add tomatoes, cucumber and feta cheese to salad. Sprinkle salt and pepper over vegetables and use gloved hands to mix ingredients. Serve chilled.

The Goods: Whats Inside?

Nutrient Analysis Per Serving:

Calories 87 calories, Total Fat 5 g, Saturated Fat 2 g, Cholesterol 6 mg, Carbohydrates 9 g, Fiber 1 g, Protein 3 g, Sodium 175 mg, Calcium 96 mg

What Else Is In Season Near NYC In The Summer?

Below is a list of other fruits and veggies that will be fresh for summer – so have your pickings!

  • Beets
  • Blueberries
  • Broccoli
  • Corn
  • Cucumbers
  • Kale
  • Peaches
  • Plums
  • Peppers
  • Radishes
  • Rhubarb
  • Spinach
  • Strawberries
  • Summer Squash (zucchini, yellow squash)
  • Swiss Chard
  • Turnip Greens
  • Tomatoes
  • Many Herbs

Source:

GrowNYC. What’s Available. GrowNYC Website. 2015. Available at: http://www.grownyc.org/greenmarket/whatsavailable. Accessed June 8, 2015.