 Why Care About Kale?
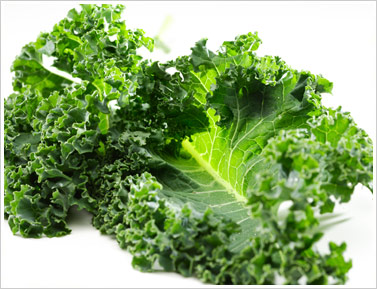
Kale seems to be popping up everywhere lately – and with good reason! This green veggie is a nutritional powerhouse, packing in a ton of vitamins, such as vitamins A, K, E, C and folate, along with minerals, such as calcium. However, I think one of the most interesting things about kale is the fact that it can actually be a satisfying alternative to some foods that may not boast many health benefits, such as potato chips. Intrigued? Thought so! Read on to learn why kale is showing up everywhere, what to do with it and what you’ve been missing out on!
*photo courtesy of: http://www.muranakafarm.com/img/inside_products_kale.jpg
Commandment #1: Try it, you just may like it!
I get it, the green veggie may have a bad rep since it is purported to taste bitter or chewy or my personal favorite, “leafy”. However, if you’ve had kale taste this way, it probably just wasn’t prepared correctly. When used correctly, kale can offer a heartier taste than many leafy greens and actually taste sweet. So, even if you’ve tried it, or smelled it, or looked at it, and decided that it wasn’t for you, just give this curly veggie another chance. In fact, it takes most people multiple exposures to a new food before someone actually enjoys the its taste.
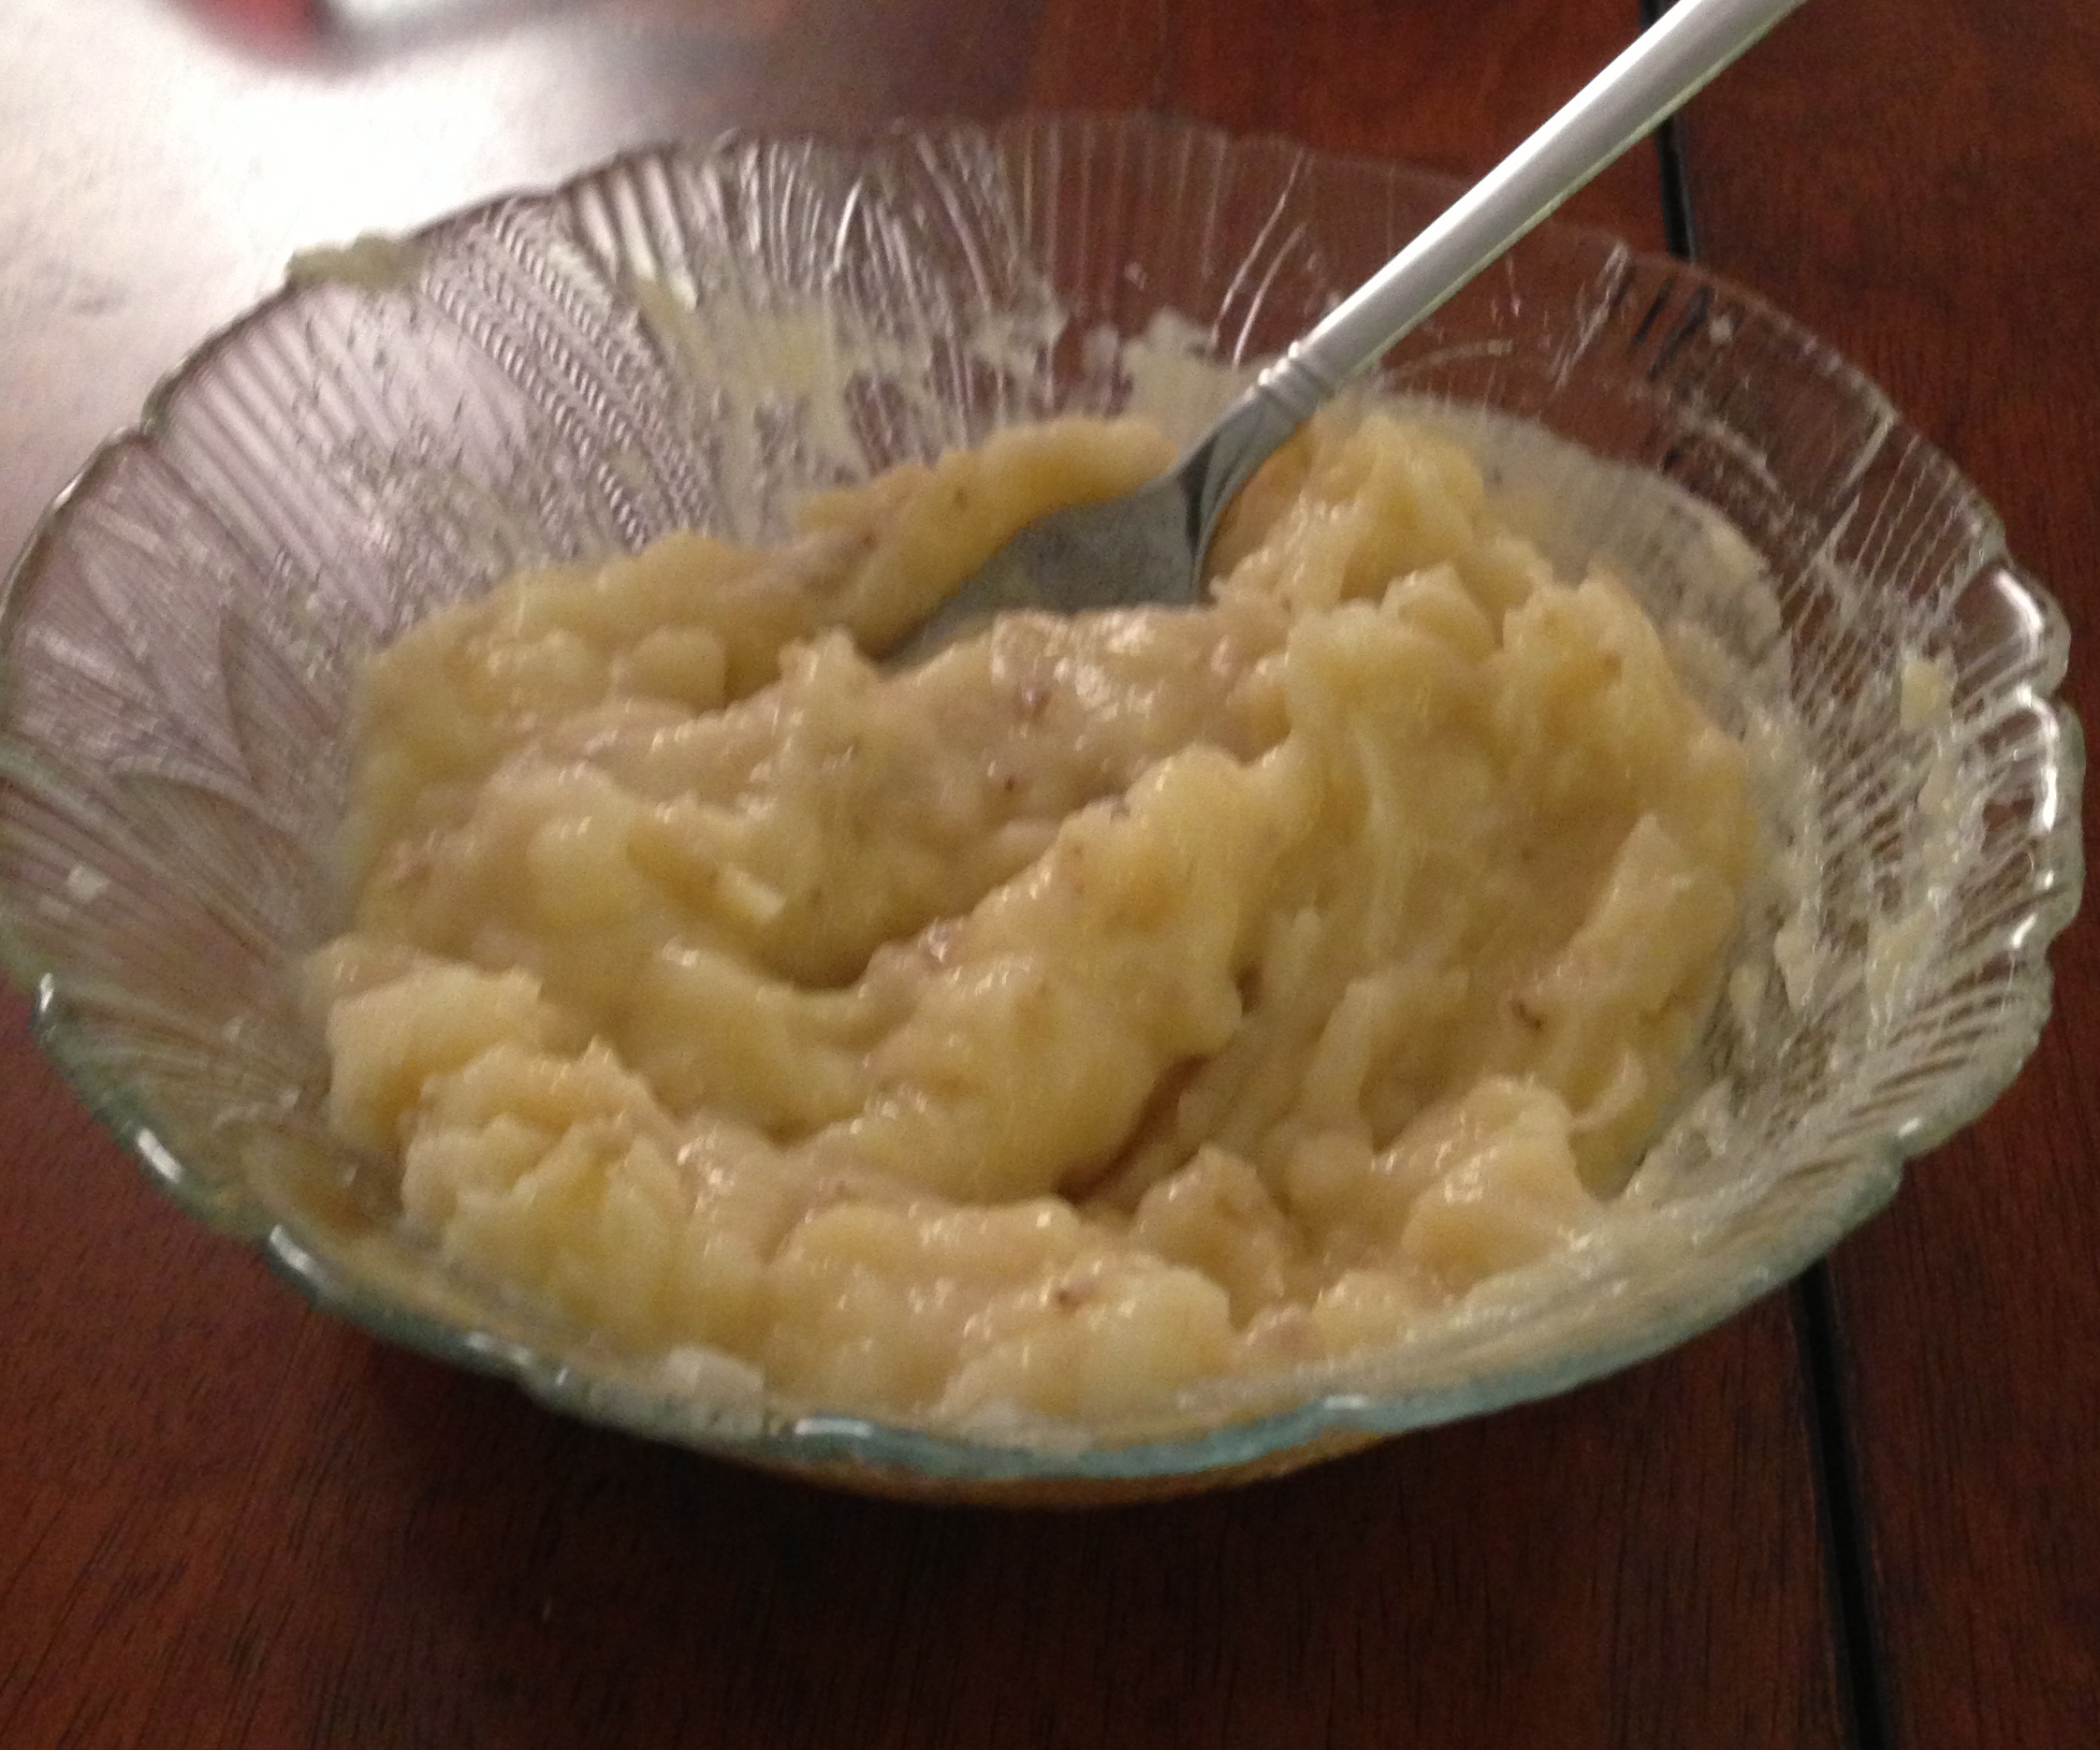
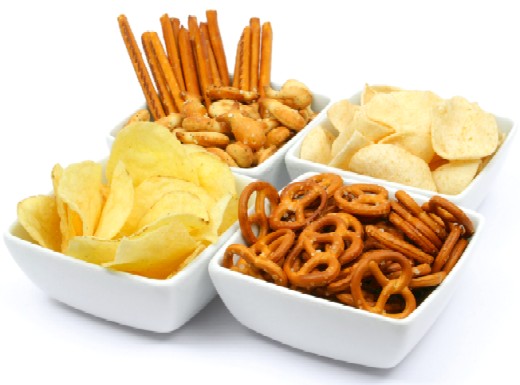
Commandment #2: Replace your potato chips with kale chips
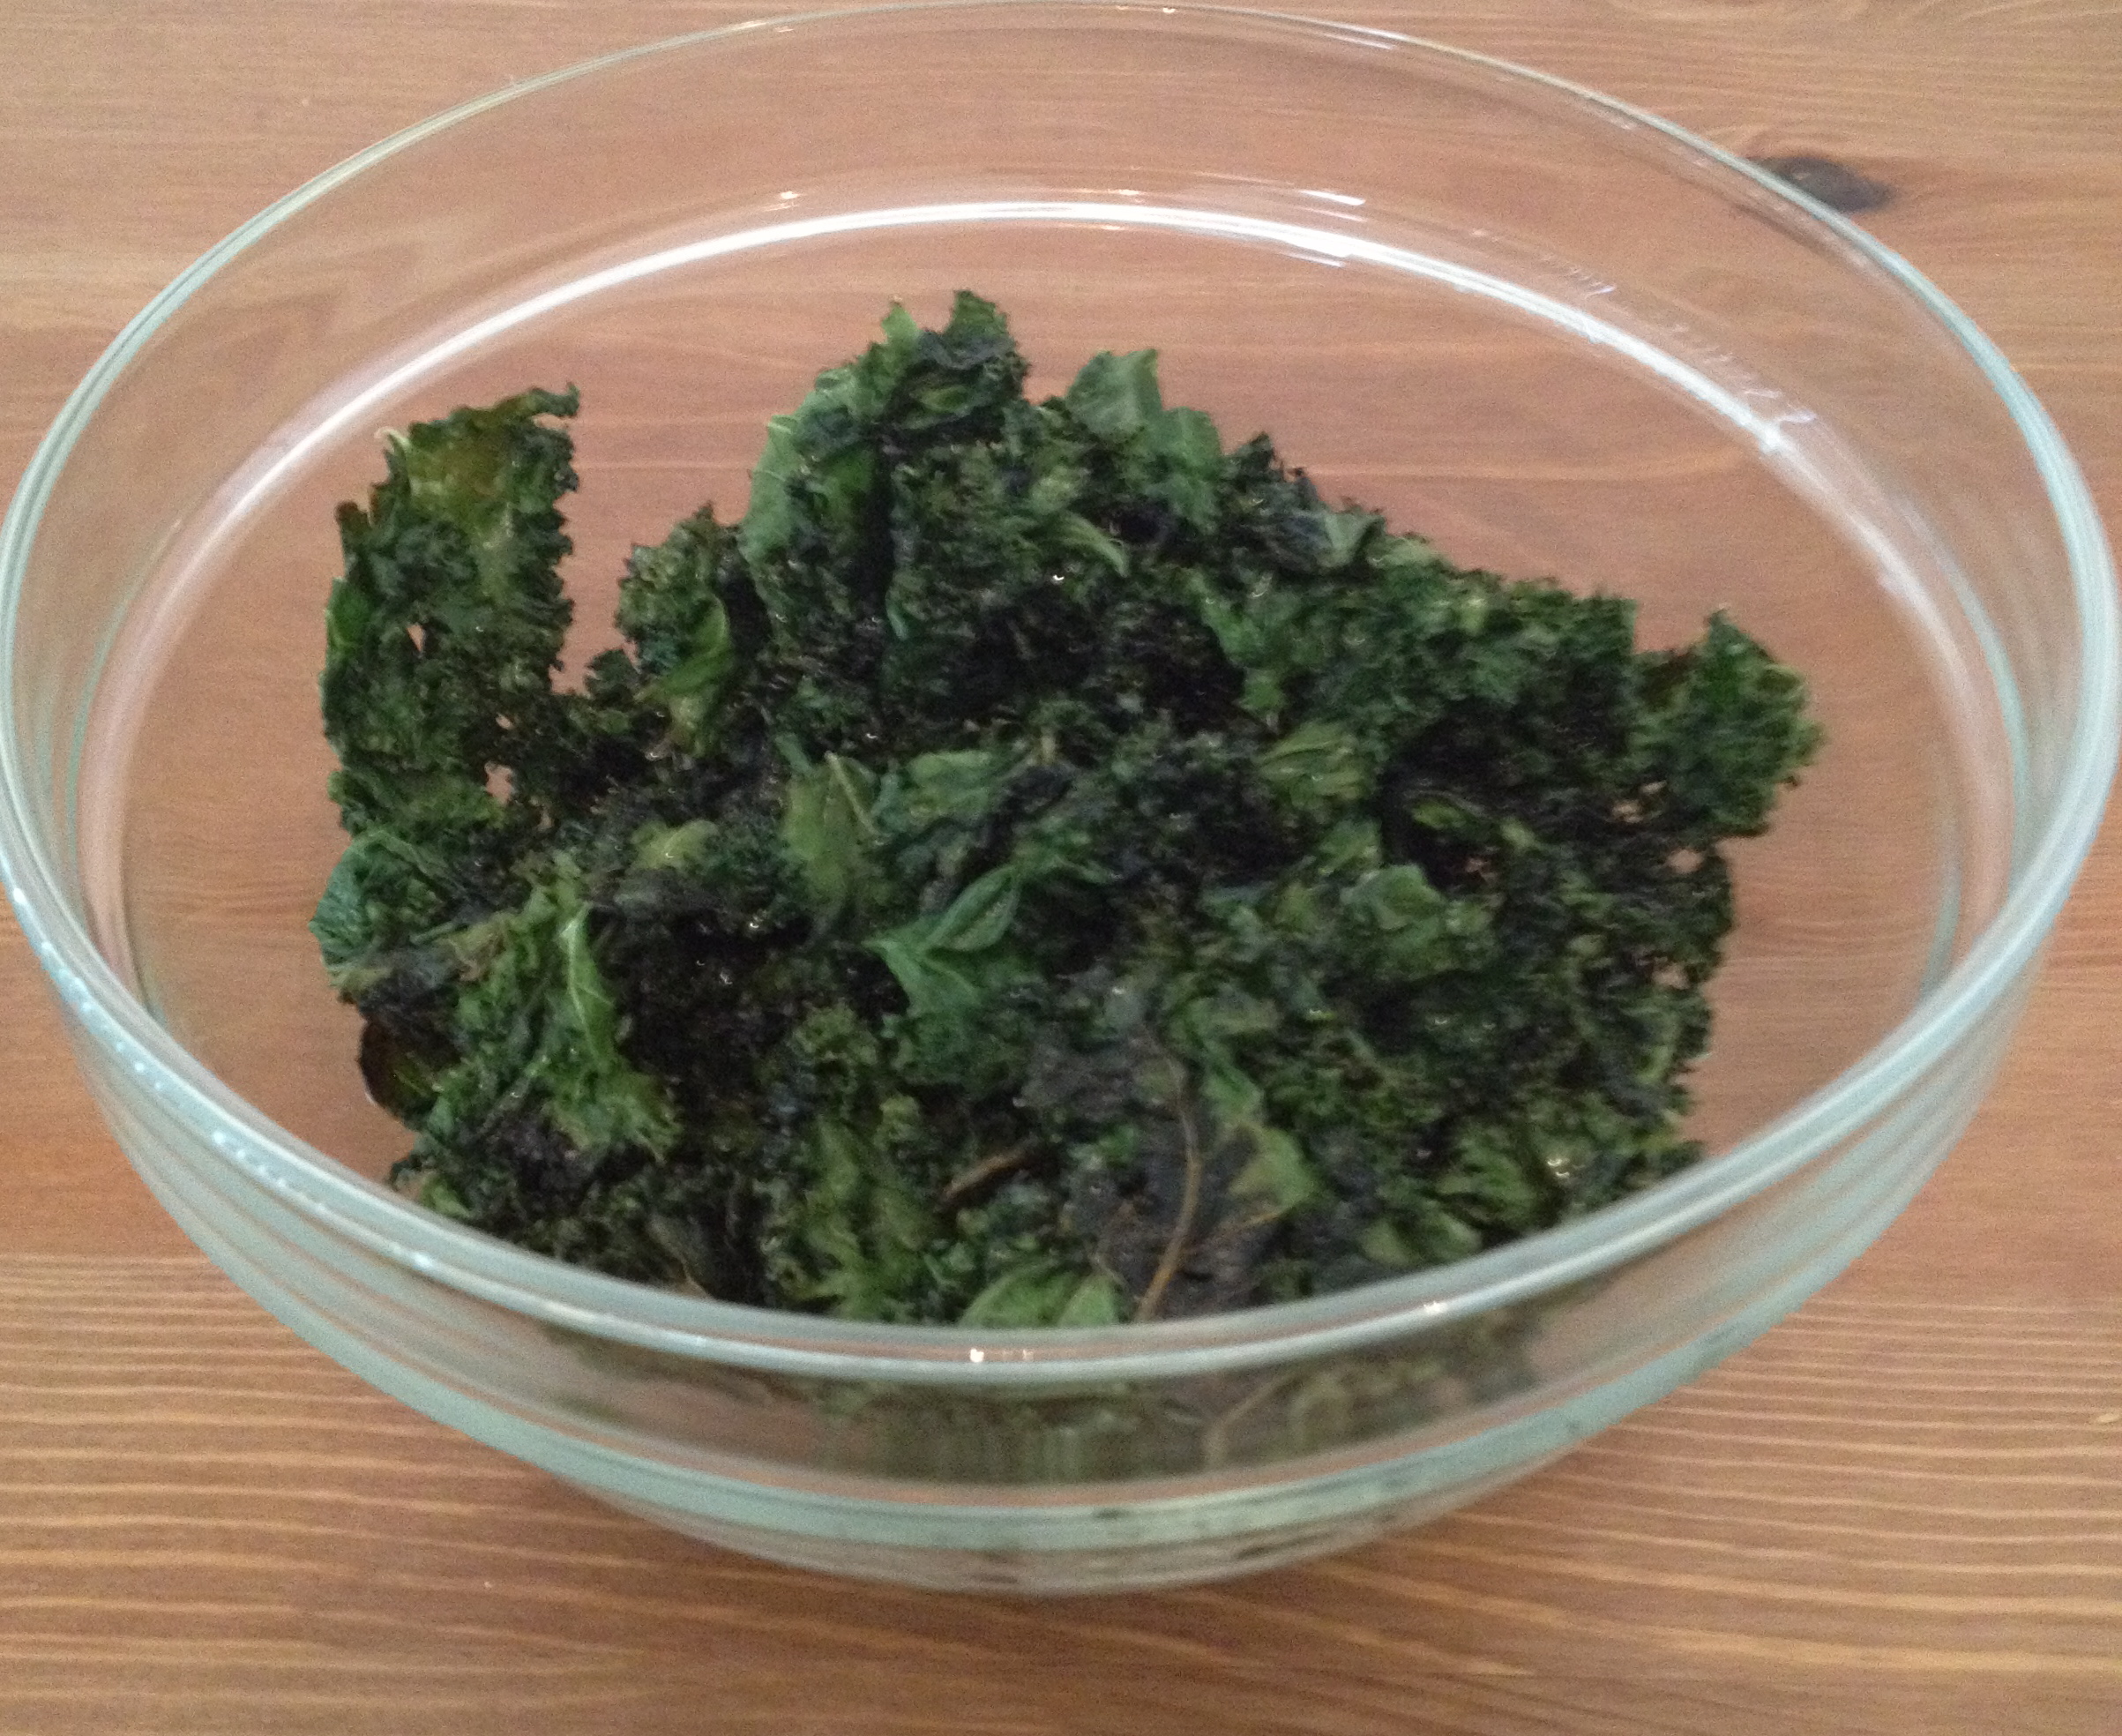
my homemade kale chips!
I know – a potato is a vegetable, too. Albeit, a starchy vegetable. Nonetheless, I am all for potatoes. But let’s not pretend that the potato chip has any semblance to an actual potato. I like my chips with my sandwich as much as anyone else, but not only do I know that eating potato chips everyday isn’t the wisest choice – I just don’t feel good about eating potato chips everyday. My body works hard for me, and I like to treat it with respect. (Do I still eat potato chips, sometimes? Of course. But in moderation!) Enter the kale chip: crunchy, salty, tangy, and every bit as satisfying as a potato chip, but with way less fat, way more fiber, and a ton of nutrients. I like to make my own by simply drizzling olive oil (lightly) over kale leaves (stems removed), with some salt and pepper. You can also add garlic powder and cayenne if you like some extra spice. The kale chips bake at 350 degrees F for about 15-20 minutes. Not in the mood to make your own? There are a ton of brands that now sell kale chips. My favorite brand is Brad’s, which has a whole line of different kale chips (my favorite are the Raw Crunchy Kale Chips with vegan cheese). Just be careful when purchasing the kale chips (as opposed to making your own) since a lot of brands add a ton of fat and salt, so the nutritional value is trumped by the processing.

*photo courtesy of: http://waly1039.com/sites/default/files/chips_0.jpg
Commandment #3: Support Seasonality
In case you didn’t know, the reason kale is literally popping up everywhere now is because it is in season. That means that you can purchase kale at local farmer’s markets right now! While food that is in season simply tastes better (at least, I think so), it also is really helpful for the environment and your community. Eating locally and seasonally means you can support small farms and eliminate the carbon footprint that comes along with transportation. Think about it: when you eat food grown in another part of the country, or another country entirely, it has to arrive here (wherever “here” is for you – for me it is NYC). How does it get there? Well, I can promise you it doesn’t walk. Instead, it is usually by truck or plane. Shopping at farmer’s markets and supporting local grocers helps to decrease the carbon emissions that would normally accompany the traveling food. Not to mention, when you eat locally, you get the benefit of consuming that food soon after it has been harvested. This means better taste, longer shelf life and a better nutrient profile. As if that is not reason enough to eat locally and seasonally, it may also be of interest to you that some studies have demonstrated that farmer’s markets help to connect communities and increase the overall pleasantness of a task that is normally mundane – grocery shopping. By going to farmer’s markets, you can have conversations with the farmers and find out how the food was grown and harvested. Also, farmers at farmer’s markets often have free samples or recipe ideas and can help you figure out a tasty way to enjoy the food. Personally, I like to go straight to the source for my nutrition. Find out where farmer’s markets are near you and start reaping the benefits of fall by purchasing local, in-season kale. From the NYC area? GreenMarket NYC is in charge of organizing all of the farmer’s markets. You can log on to their website and find out when and where the farmer’s markets are!
Commandment #4: Don’t be a boring salad

my warm kale and butternut squash salad!
I know, you like your spinach, or romaine, or arugula. But kale has an interesting taste as a lettuce, served hot or cold. Served cold, kale is crunchier than the other types of greens often used as lettuce. It has a heartier, crisp taste that is more satisfying and adds a little something extra to your plate of veggies. Served hot, kale tastes similar to spinach, but seems slightly heavier. It holds up well as a base for a salad, without overpowering the dish. If you serve kale cold, you’ll want to use an acidic ingredient, so that the kale softens and tastes less bitter. This also allows the nutrients to be more bioavailable, since it initiates the breakdown of certain indigestible plant components. I like to marinate my kale with lemon juice for some time before I use it (usually about 30 minutes or so). You can also make a great salad dressing using lemon juice, olive oil, red wine vinegar, salt and pepper. In the mood for a warm salad? (In these chilly temps, why wouldn’t you be?) Check out my warm kale and butternut squash recipe (on my blog) and enjoy some of the best fall flavors offered. Looking for more of a side dish? Saute kale, like you would spinach, until wilted, except leave it on the heat slightly longer than you would to cook spinach. This prevents the kale from tasting bitter. Adding a drop of soy sauce or sugar can also help. I like to mix kale with spinach and chard for a side dish with more texture and flavor than your standard sauteed spinach.
 Commandment #5: Green-ify your smoothie or juice.
Juicing has become a cult. No, not really, but I know that people love their juices. While juices are a great alternative to many other beverages, such as soda or other sugar-sweetened beverages, like sweetened tea and juice, many of them contain a lot of sugar, zero fiber and not much else. Adding some veggies, like kale, to your juices can deliver a hearty dose of vitamins and minerals. Just be aware that you are still not getting the fiber that you actually would from eating the whole foods that are juiced. My verdict? Great in moderation, or a good alternative to high-calorie, processed beverages (milkshakes, sodas, frozen blended concoctions) . But if you were drinking water and eating whole fruits and veggies before? Keep it up. Nonetheless, kale can amp up your juice (every once in awhile), and the addition of vegetables (as opposed to using lots of different fruits) doesn’t contribute as much to a high sugar content. Use the fruits sparingly, to add a light sweetness. Juice Generation has a great juice made with kale, lemon and watermelon. Keep it simple, light and slightly sweet! Want more of the health benefits of kale (and other fruits and veggies)? A smoothie may be the way to go. By blending the whole fruit, you reap the fiber and forgotten nutrients. Offset the vegetable-taste with natural sweetness, such as apples, mangoes, pineapples, watermelon or other sweet fruits. Craving a creamier smoothie? Add nonfat, plain Greek yogurt, rather than just ice, for some extra protein and creaminess. Going green just got really tasty!
*photo courtesy of: http://www.healthline.com/hlcmsresource/images/slideshow/healthy-smoothies/slide07-kale-smoothie.jpg
Hopefully by now I have convinced you to keep an open mind about kale and experiment with the many ways kale can be enjoyed. I think you’ll find that after trying kale in some of these ways, you’ll not only be fueling your body well – you’ll enjoy doing it!