No Lettuce? No Problem! Edamame, Cucumber, Tomato and Feta Salad

Edamame, Cucumber, Tomato and Feta Salad

This simple salad is a cinch to put together and is a great salad to use for entertaining, or to pack for the day to load up with good nutrition on-the-go. Edamame contains soy protein, helping to to fill you up without filling you out. Also, tomatoes contain lycopene, which is a potent antioxidant. But you won’t even be thinking about how good this salad is for you when you’re eating it- you’ll just be thinking about how good it tastes!

IMG_0106

Ingredients (serves 2):

1/2 C cooked, shelled edamame (*tip: try to find a brand that does not add salt to lower the sodium content)

1 C cherry or grape tomatoes, halved

1 C sliced English cucumber (with skin)

1/4 C reduced-fat feta cheese, crumbled

1 tsp extra virgin olive oil

dash salt and pepper, to taste

Directions:

1. Combine all ingredients. How simple is that?!

*If your soybeans are salted, you may choose to skip the extra salt -this can make your salad taste too salty and also makes the sodium unnecessarily high.

The Goods: What’s Inside?

Nutritional Analysis Per Serving:

Calories 150, Fat 9 g, Saturated Fat 3 g, Cholesterol 13 mg, Carbohydrates 11 g, Fiber 4 g, Protein 10 g, Sodium 284 mg, Calcium 131 mg

The Buddy System: Gym Edition

Why Work Out With a Friend?

So, why should you grab your spouse, significant other, friend, sibling, acquaintance (or anyone for that matter) and bring them to the gym with you? There are actually a few reasons. Making plans with someone holds you accountable, so you’ll be less likely to blow off a workout. Additionally, working out with someone allows you to take advantage of exercises that you wouldn’t be able to do on your own, plus partner stretches can really push muscles to the limit and help your muscles to be long, lean and injury-free! Also, working out with someone you enjoy spending time with is FUN! As if I really needed to say the last reason. Grab your partner and get sweatin!  Below are a few of my favorite partner workouts, plus a partner stretch, to keep you and your buddy active, strong and toned. Your workout just got a lot more fun!

Workout #1: Pass The Medicine Ball (abs, obliques, arms)

Lay on your back, in “crunch” position, facing your partner, with your feet in one straight line (all four of them!). One partner holds the medicine ball overhead (typically a 6 lb. ball should work well for this exercise, but this may vary) and both partners lift at the same time and twist toward one another. Pass the ball to the other partner and return to start position, with the medicine ball in the second partner’s hands. Now repeat so that the ball gets passed back in the same way, back to the first partner. Do 3 sets of 10-15 reps and then switch sides (so you’re twisting to the other side).

position A

position A

position B

position B

position C

position C

Workout #2: High-Five for Push Ups (arms, core, glutes)

Get into your yoga plank position (back straight, elbow joint direction under shoulder joint), facing your partner. At the same time, both you and your partner will shift your weight into your left arm/hand and lift your right hand off the floor, slap each other’s hand, and place your hand back down. Repeat, this time shifting your weight into your right arm/hand and lifting your left arm. Both hands lift for 1 rep. Perform 3 sets of 10-20 reps, depending on how advanced you and your partner are.

position A

position A

position B

position B

position C (really just the start position - same as position A!)

position C (really just the start position – same as position A!)

position D

position D

position E (really just the same as positions A and C - sensing a pattern?)

position E (really just the same as positions A and C – sensing a pattern?)

Workout #3:Crunch and Squat (abs, arms, glutes, legs)

For this exercise, one partner will lay on a resistance ball with feet firmly planted on the floor, holding a 4-6 lb. medicine ball overhead. The resistance ball should be in contact with your lower – mid back. The second partner should stand a couple feet apart, with feed about hip-width apart and knees soft. The “crunch” partner will crunch up, pass the medicine ball to the “squat” partner, who will then take the medicine ball and squat before coming back up and passing the ball back to the “crunch” partner. Then, the “crunch” partner will return to the start position. That counts as 1 rep. Perform 3 sets of 12-15 reps.

position A

position A

position B

position B

position C

position C

position D (really the same as position B)

position D (really the same as position B)

position E (really the same as position A)

position E (really the same as position A)

Workout #4: Medicine Ball Toss (glutes, legs, core, arms)

This one is really fun and reminds me of playing catch when I was younger. Stand a couple feet away from your partner, with feet about hip width apart. Both partners will squat, while only one partner will hold a medicine ball (4,6 or 8 lb. should work for most). While remaining in a squat the entire time, gently underhand toss the ball to your partner and have your partner pass the ball back to you. Continue this for 1-3 minutes, lowering your squat every 30 seconds (since your legs will stretch and you will be able to go lower as time goes on). More advanced? perform more than one set, or add on another minute!

postion A

postion A

position B

position B

position C

position C

Partner Stretch

This stretch is really great for tight hamstrings. Lay on your back in with legs bent and feet on the ground. Raise one leg and have your partner gently push your foot closer toward your head. Hold for 10 counts and then have your partner gently push slightly further. Hold for another 10 counts. Repeat on opposite legs, then switch and help your partner stretch.

time to stretch!

time to stretch!

*Prior to beginning any fitness regimen, please consult your physician and make sure that you are fit to engage in such activity. If you feel unfit to perform this or any other recommended exercise, or feel faint, ill, injured or uneasy while performing an exercise, stop immediately and seek medical attention. 

**Special thanks to my friends, Casey and Ruthie, for demonstrating these moves! 


A Muffin You’ll Be Nuts About: Whole Wheat Banana Walnut Muffins

Whole Wheat Banana Walnut Muffins

This chillier weather makes me want to bake and enjoy the scent of warm, freshly baked muffins filling my apartment with some hot tea. I slimmed down banana walnut muffins by swapping out some all purpose flour for whole wheat flour, replacing oil with fat free Greek yogurt and increasing the amount of bananas, so the muffins stay moist and sweet – naturally! These muffins are great as a snack to pack for work or school, or amazing with a cup of coffee or tea in the morning. A great bonus? walnuts are a great source of omega-3 fatty acids, which help to decrease inflammation. Who says you can’t have your muffin and eat it, too?

IMG_0268

Ingredients (yields 18 muffins):

1 C whole wheat flour

1 C all purpose flour

1.25 tsp baking soda

1/2 tsp salt

4  medium, overripe bananas (*note: it is important that the bananas are almost entirely brown on the outside, or else your muffins will not be sweet)

2/3 C honey

still chunky mashed bananas

still chunky mashed bananas

1/3 C light brown sugar

3/4 C 0% fat, plain Greek yogurt (I like Fage)

1 large egg

2 large egg whites

1 tsp vanilla extract

1/2 C walnuts, crushed or chopped

almost ready!

almost ready!

Directions:

1. Preheat oven to 375 degrees F.

2. Combine flour, baking soda and salt in medium sized bowl. Set aside.

3. Mash 2 bananas with a fork until just mashed (bananas should remain slightly chunky)

4. Beat remaining 2 bananas with honey and brown sugar (about 2 minutes). Add yogurt, eggs, vanilla and beat well for another 30-45 seconds.

5. Mix in about half of the dry ingredients and stir with rubber spatula. Add remaining half of dry ingredients. Fold in nuts and mashed bananas to batter.

6. Line muffin tin with cupcake liners. Spoon batter into muffin tins so that each cup is about 3/4 full.

7. Bake for approximately 25 minutes (until the muffins pass the “toothpick test” – a toothpick should come out of each muffin mostly clean). Serve warm or at room temperature.

oven-ready!

oven-ready!

The Goods: What’s Inside?

Nutritional Analysis Per Serving (1 serving is 1 muffin from a batter that makes 18 muffins):

Calories 159, Fat 3 g, Saturated Fat 0 g, Cholesterol 10 mg, Carbohydrates 31 g, Fiber 2 g, Protein 4 g, Sodium 168 mg, Calcium 20 mg

warm, fresh baked banana walnut muffins!

warm, fresh baked banana walnut muffins!

Back to Basics: 5 Simple Workouts You Know So Well You’ve Forgotten – and How to Incorporate Them Into Your Routine!

Why go back to basics?

These five simple workout moves target the major muscle groups so that you can get strong and toned. They’re basic because they work and many people seem to have forgotten how to do these basic moves or just don’t bother to do them anymore. No equipment, no time, no problem! These moves require no or minimal equipment and take minimal time, but offer maximum results. Below are the moves, so you can make sure you’re performing them correctly. While it is best to combine these moves with a cardio session, these are excellent, efficient moves that you can perform when you were going to take the day off in a matter of minutes.

Break it down:

the squat

While there are many variations of the squat, the basic squat is a simple, fuss-free move that delivers great results for your core, glutes and thighs – all of the trouble zones! Begin by planting feet on the floor (standing up) with feet approximately hip width apart. Knees should be soft throughout the entire workout (so no hyperextension of the knee – even in the “up” position!) This greatly reduces the risk of injury and keeps muscles activated. Inhale as you lower your body down, while keeping you feet still. Stay in the “down” position for 1 count and return to start position, exhaling as you come up and keeping knees soft. That was 1 rep. Depending on your fitness level, you may want to start out doing 3 sets of 12. If you are a more advanced exerciser, try 3 sets of 20, 25 or 30.

position A

position A

position B

position B

the lunge

This move is a great multi-tasker. Grab some weights (or you can perform this without the weights, or fill up two water bottles for some added weight if you do not have equipment). Stand with one foot in front of you and one foot in back of you, with the back heel lifted off the floor. This heel should remain off the floor for the entire exercise. Hold 5-15 lb. weights in each hand and bend elbows at a 90 degree angle (approximately). As you lower, bend your front knee and lower your back knee toward the floor, but do not allow it to touch the floor (you should hover about an inch or two over the floor). While you are lowering, pull the weights in toward your shoulders so that your elbow bends further toward your body (in case you have not noticed at this point, your arms are performing a biceps curl). Hover in the “down” position for 1 count and bring yourself back to the start position for 1 rep. Perform 15-25 reps on the same leg in a row for and then switch legs to complete the set. Perform 3 sets.

position A

position A

position B

position B

the push up

Everyone’s dreaded workout – but they really work! Push-ups are great for your shoulders, chest and arms, as well as your core. There are many variations of push-ups: extra wide (targets deltoids), narrow, keeping elbows in toward your torso (targets triceps), etc. However, the basic push-up is a great place to start, and an effective exercise to include in your routine. Begin by placing hands about shoulder width apart, palms facing down on the mat, elbows slightly bent (so as not to hyperextend). Use a mirror to check your position – no butts in the air and no slumping butts toward the floor! Your body should essentially form a straight line. Inhale as you slowly lower with control and return to start as you exhale. Been avoiding push-ups? No worries, start by performing 3 sets of 5. More advanced? Try to do 3 sets of 15-20. Increase the number of reps at your own pace. You will know you are doing the right amount when your form is correct throughout the entire set, but the last few seem very difficult to erk out.

postition A

postition A

position B

position B

the plank

My personal favorite! This exercise can be done in a variety of ways, so I have shown my two favorite basic planks below. For the yoga plank: begin in your standard push-up position, but instead, hold the position. Again, check your positioning! Wrist joints should be directly below shoulder joints and your body should essentially form a straight line from head to toe. A good length for a beginner is 30 seconds. As you progress, try to hold the plank for 1 minute or more. Advanced? Keep setting new goals by increasing the time or consider variations of planks, such as incorporating leg raises, holding out arms, etc. Similarly, the basic forearm plank can progress in the same way. For this version, forearms should be on the mat, with both hands in a fist, touching one another. Again, wrist joints should be directly beneath elbow joints.

basic yoga plank

basic yoga plank

basic forearm plank

basic forearm plank

the crunch

The basic crunch is often misused or not utilized at all, but truthfully, it really works well to engage your abs! The key is ensuring you maintain proper form, otherwise your neck ends up getting strained and doing most of the work, so your abs remain weak and your neck gets strained – ow! As you set up, lay down on the mat with legs bent and feet on the mat, so knees are pointed up toward the ceiling. Place hands behind your head but do not interlock your fingers. Slightly raise your head, neck and upper back off of the mat and continue gazing at the ceiling. To ensure proper positioning, imagine you are holding an orange between your chin and your chest (about the size of your fist). If you clench your chin to your chest, the orange will burst. However, if you let your head fall too far back, the orange will roll off. Your head should be in the perfect position to maintain the orange’s position if it were to be there. (Still not getting it? Grab an orange! You will feel the difference!) Engage your core as you lift your upper body further off of the mat (but maintain proper neck positioning) and exhale. Inhale as you return to start. try doing 30 slow crunches followed by 30 pulses (extra fast, like your pumping your body up to a beat). Or, try doing 30 crunches and on the 30th, holding the “up” position for 5-10 counts, then repeating a few times. Try to perform 3 sets.

position A

position A

position B

position B

These moves can be done in conjunction with other exercises or on their own for a great workout that targets the major muscle groups. Want to mix it up? Perform 3 sets of every exercise above, going through each one set at a time. Another great idea is to add some plyometrics (essentially, jumping, weight-bearing exercises) in between each set. This can be done by jumping on an aerobic step (with both feet at one time) and back to the floor for one minute. Always remember to stretch after each workout and fuel up with real food to give your muscles the fuel they need to recover and get stronger!

*Prior to beginning any fitness regimen, please consult your physician and make sure that you are fit to engage in such activity. If you feel unfit to perform this or any other recommended exercise, or feel faint, ill, injured or uneasy while performing an exercise, stop immediately and seek medical attention. 

Let’s Talk About Snacks, Baby…

Why We Need “The Talk”…

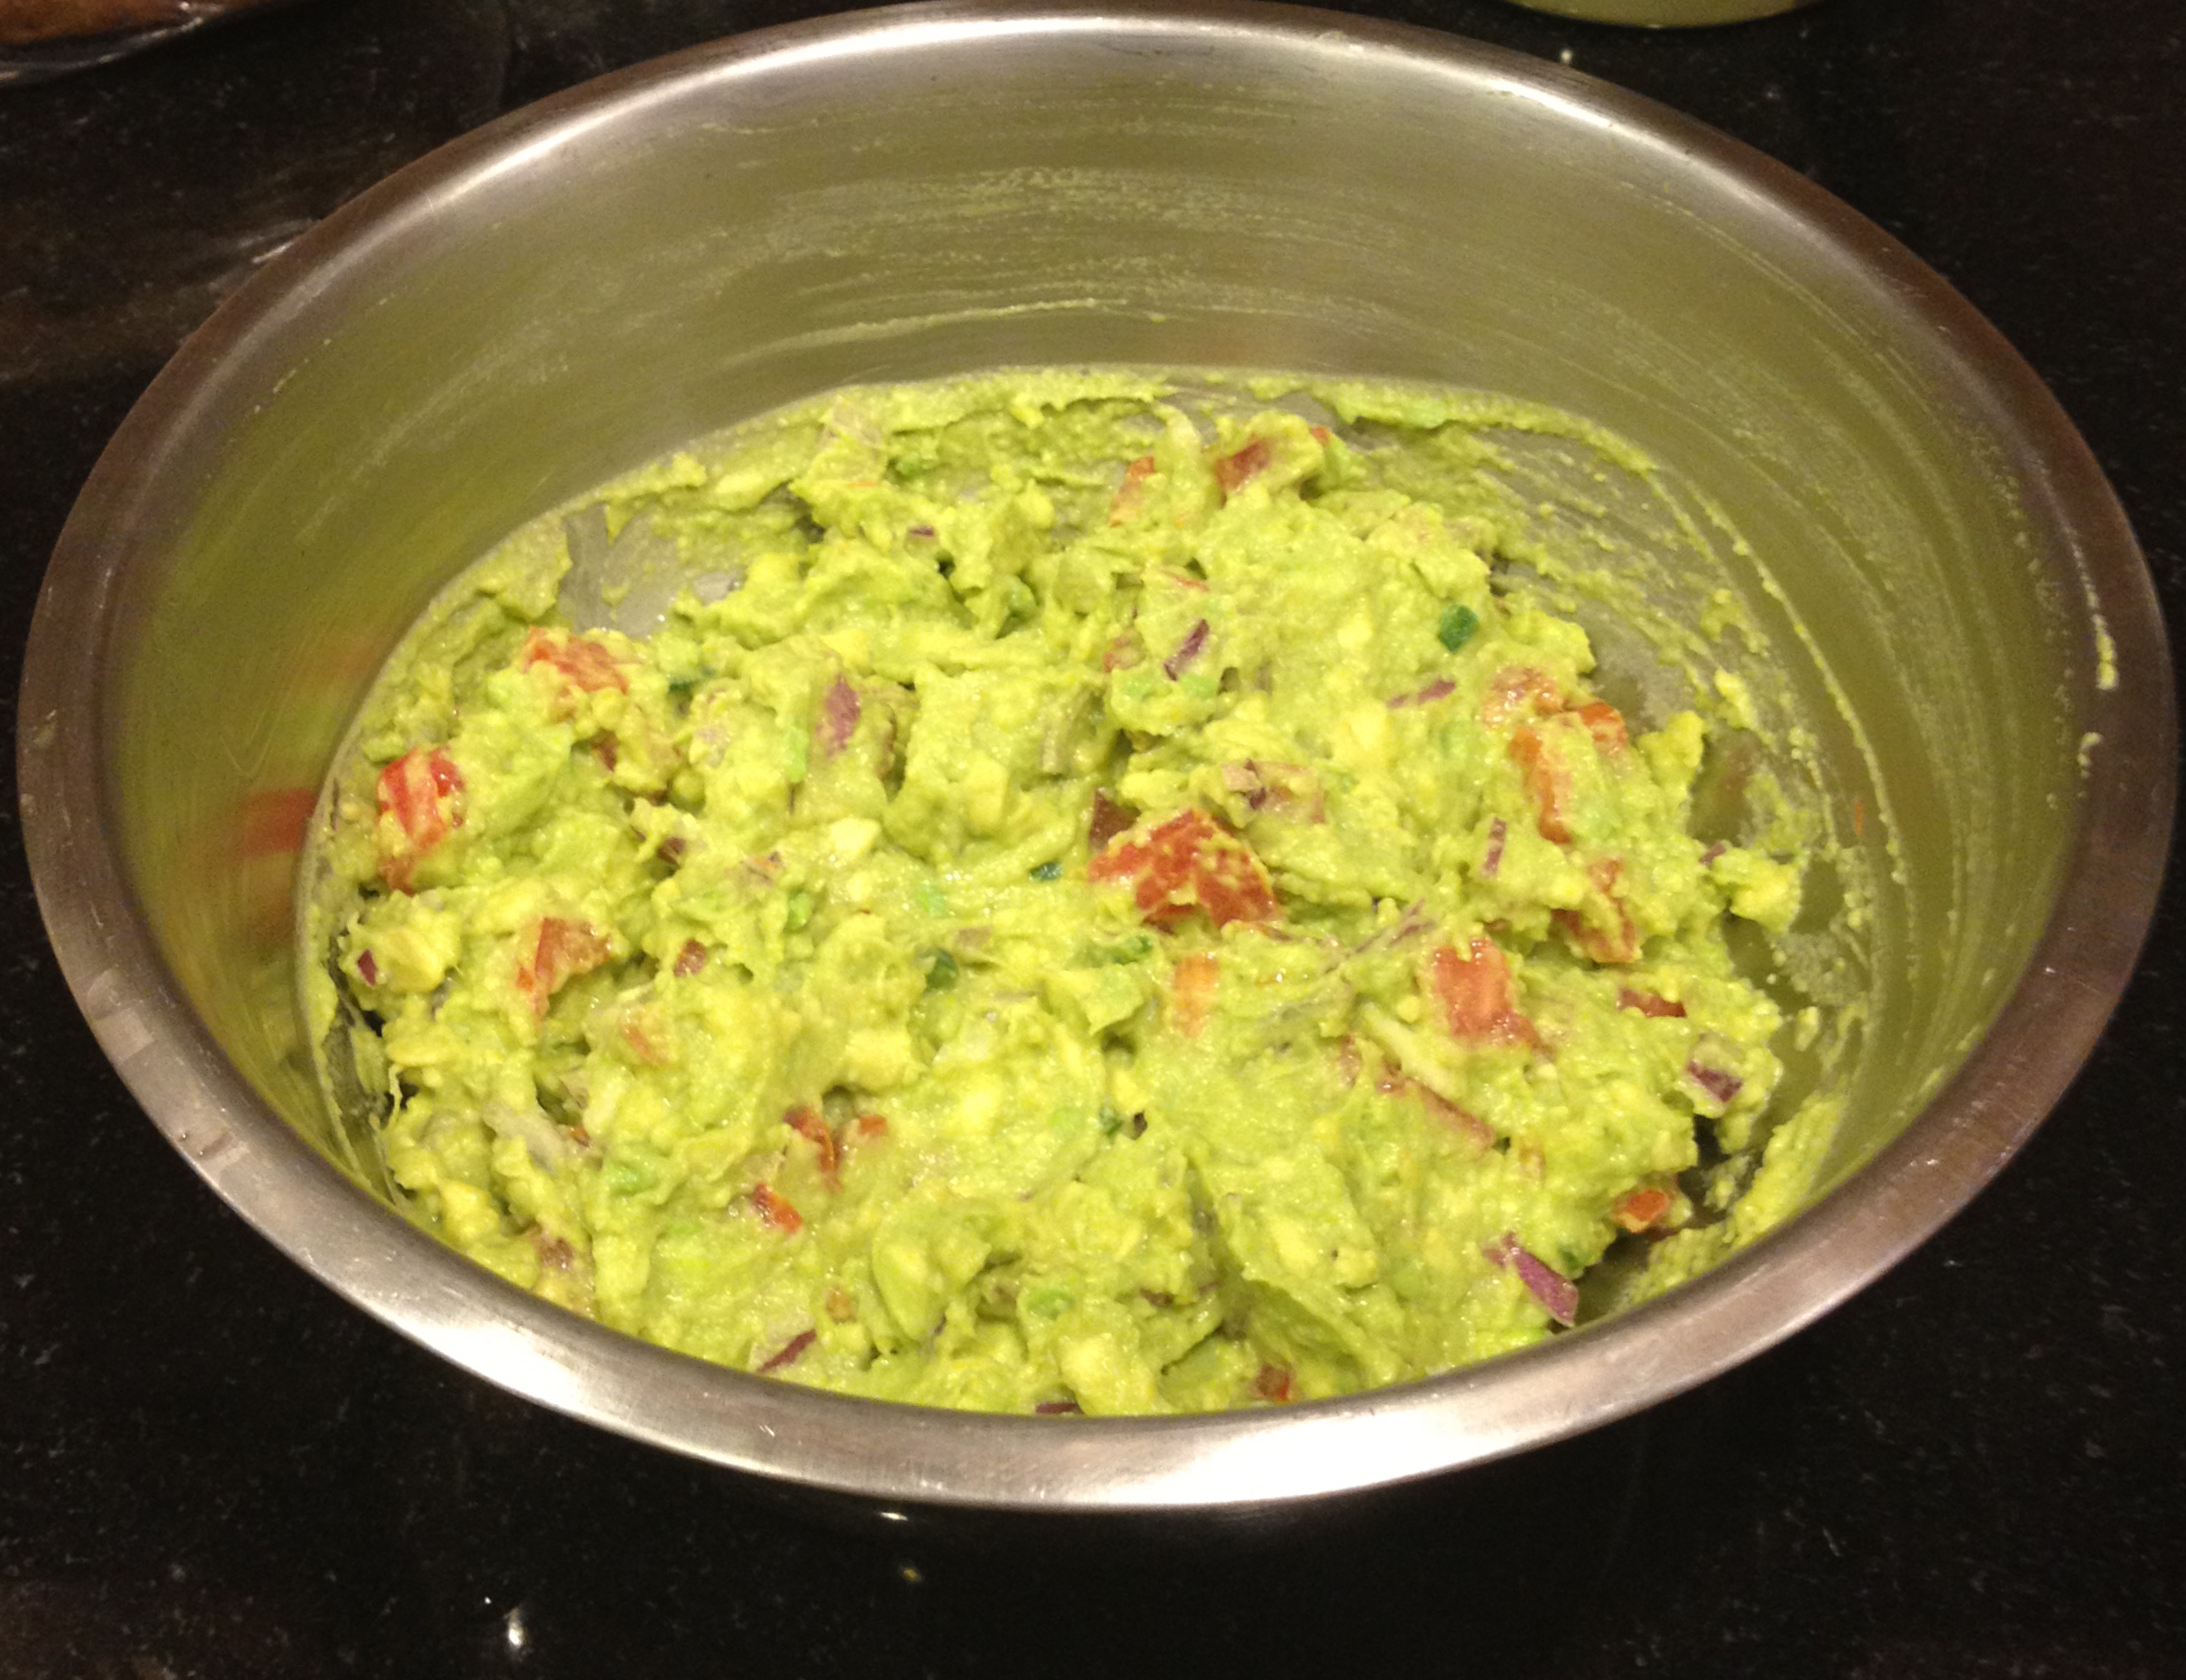
I have noticed that many people I know are concerned about snacking. In fact, it seems as though salty-snackspeople are afraid of snacking, which is upsetting because eating (including snacking) should be a joyful experience. You are giving your body nutrients so that it can be strong for you and you are also enjoying the smell, taste and texture of the food (or at least you should be!) However, when it comes to snacking, I think some people are confused about which snacks are “good” or “bad”. I do not like to think of food in terms of “good” or bad”. Food is food. It can taste good or bad, but it is not, in itself, good or bad. Instead, I try to eat different types of food in moderation. For example, I often cook healthful breakfasts, lunches and dinners and usually eat fruit, vegetables or yogurt in between meals. However, if I want a cookie, or a muffin, or some other “treat” one day, I will likely have it – as part of a balanced diet. This concept seems to provoke a strong reaction in many people, as it seems many people associate foods such as cookies or ice cream with guilt. It is time to work on your relationship (with food) and befriend the enemy.

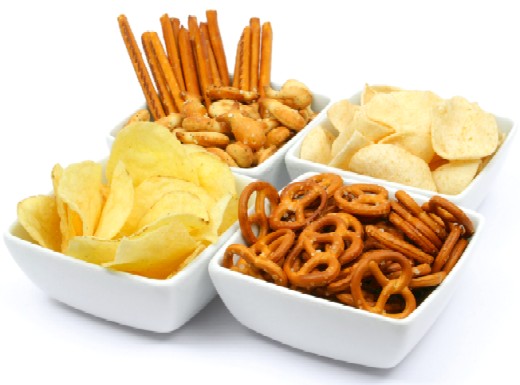
*photo courtesy of http://www.abetterbagofgroceries.com/wp-content/uploads/2012/01/salty-snacks.jpg 

Just Hear Me Out…

This is a break-up with your diet habits. Dieting does not usually lead to long-term weight loss. Skipping meals (and snacks) could cause binge-eating later, along with feelings of deprivation, guilt and behaviors associated with disordered eating. Instead, it is finally time to begin a new relationship with food – a healthy relationship, in which there is respect, peace and happiness. Now, I know many people want to enjoy snacking – who wouldn’t? However, confusion and anxiety about how to snack can certainly take the fun out of what is supposed to be both enjoyable and beneficial. So I am here to sort out fact from fiction, and offer up some of my favorite snack ideas, from whole foods to packaged goodies. After hearing my side, hopefully we can work it out.

Dark chocolateRumor Has it…

So, what is a “snack” and how does it differ from a “meal”? Truth is, depending on what works for you, a snack may not be any different from a meal. Many people find that eating multiple, small meals during the day helps to keep them feeling full and provides their bodies with adequate nutrition. However, if you are eating three meals a day (which, at a minimum, you should!) snacking is often a helpful way to keep your metabolism humming and tide you over until your next meal. Ideally, if someone is on a 1,800 calorie – 2,000 calorie diet (by “diet” I mean their average dietary intake, not a “diet” in the typical sense), meals should approximate 500 calories each, leaving 300 – 500 calories for snacking. (It should be noted that everyone’s caloric requirement is different and this is just an example). An ideal snack is typically thought to be about 150 – 300 calories, although this  can obviously vary from person-to- person and time-to-time. Snacks should usually consist of foods that offer healthful benefits, for example, a fruit that offers fiber along with vitamins and minerals. However, a snack can also be something that isn’t so much a contributor to your nutrient-dense calories, but rather, something you want to eat and can eat in moderation, knowing that your nutrients are coming from elsewhere in the diet. So it’s okay to break out the chocolate and ice cream every once in awhile – this is a break up after all. Just remember the foundations of good nutrition: balance, variety and moderation.

*photo courtesy of http://static.guim.co.uk/sys-images/Guardian/Pix/pictures/2012/8/17/1345200214609/Dark-chocolate-009.jpg

I Can See Clearly Now…

So, hopefully by now you are feeling that not only is it okay to snack – you are encouraged to snack. Just snack wisely (most of the time)! here are some of my favorite snacks, ranging from unprocessed fruits and vegetables to pre-packaged, store-bought convenience items.

Fruit:

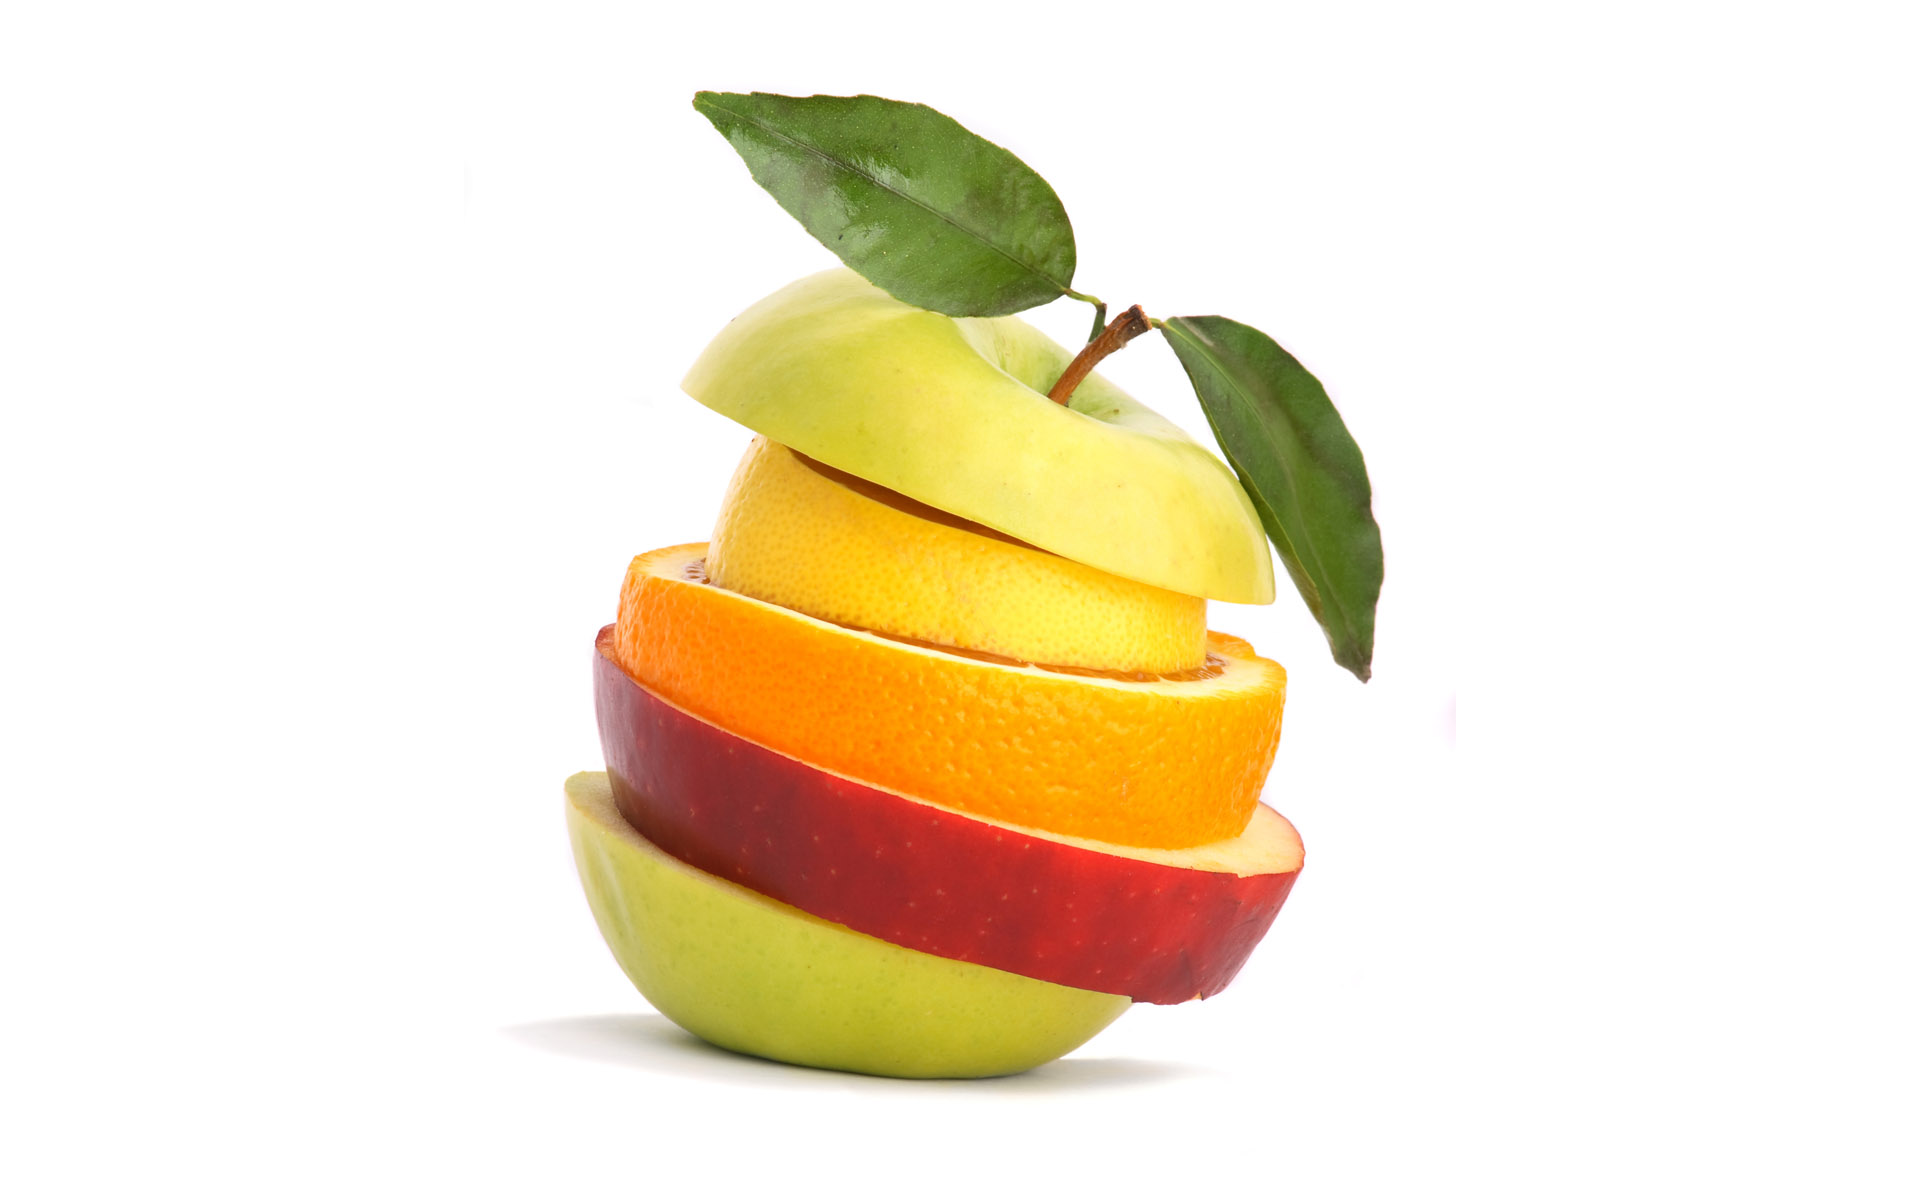
This is an easy one. Need an on-the-go snack? Whole fruits that you can bite into, such as apples, pears, peaches, plums, apricots and bananas are great, portable options. Additionally, you can cut up fruit when you do have the time so that when you are busy, you can just reach for the container (or bag, or whatever you choose to store your cut up fruit in) and bring it with you. Dried fruit is also a good option – just be aware of the sugar content. The process of drying is a dehydration process and usually sugar is used to attract water out of the fruit, increasing the sugar content of the fruit once it has been dried. If you’re at home, you can enjoy some of my favorite snacks and desserts: cut up grapefruit, broiled grapefruit with brown sugar, melted dark chocolate with strawberries and bananas, banana slices with peanut butter, frozen grapes or frozen dark chocolate-dipped bananas. Right now, clementines are also especially sweet!

07-Beautiful-Fruit-Wallpapers

*photo courtesy of http://picsmesh.com/wp-content/uploads/2013/05/07-Beautiful-Fruit-Wallpapers.jpg 

Vegetables, Beans, Legumes:

I like to bring sliced bell pepper, cucumber and carrots with me and usually I will bring a small container of hummus. The vegetables on their own do not contain many calories, but they offer a ton of vitamins and minerals and are full of water and fiber, which help to keep me full. Hummus helps to fill me up if I want a heartier snack and adds even more fiber. Edamame is another fun snack. A great tip is to sprinkle on the salt after you have heated the soybeans, since you will be able to taste the crystals that are on the surface and can use less salt. Edamame is also great on its own, eaten warm or cold. Also, I am unashamed to admit that I still eat ants on a log – more appropriately referred to at my age as celery with peanut butter and raisins.

originalOn-The-Go Bars and Treats:

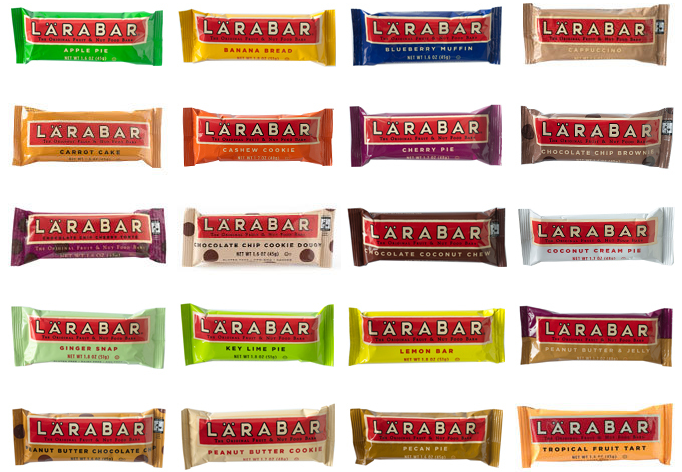
I have recently become addicted to Larabars. These bars are minimally processed and contain very few ingredients (some bars only have 2 ingredients!), all of which I can pronounce and recognize as food items. While many granola bars and other on-the-go bars contain ingredients made in a laboratory and cheap, added fibers, such as inulin, which can often cause gastrointestinal distress, Larabars are made from dates and contain a few ingredients to enhance the flavor of the dates. The fiber and nutrients are all there, in a conveniently packaged bar that averages around 200 calories. My favorite flavor is peanut butter chocolate chip! I also make my own trail mixes, using individually packaged nuts, seeds and fruit. Here is my favorite combination: cashews, peanuts, sunflower seeds, dried blueberries, pieces of dark chocolate. Try to find unsalted or reduced-salt versions of nuts when making your own trail mixes.

*photo courtesy of http://s3.amazonaws.com/jo.www.larabar.com.2011/uploads/page/meta_social_images/15/original.png?1333057076

Creamy Deliciousness:total-0

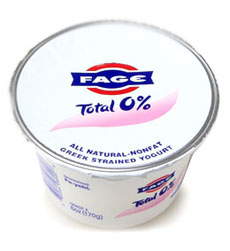
My favorite go-to snack when I crave creaminess is Greek yogurt. I like Fage 0% plain, which contains few ingredients, among which are live, active cultures of beneficial bacteria that can colonize as microflora in the intestine and contribute to immune and digestive health. Bifidobacteria and Lactobacillus are the names of bacteria to look for when reading your yogurt label. I like to eat my Greek yogurt either with fruit, fruit and chocolate chips, fruit and honey, granola (usually my homemade granola, which can be found on this blog, although I also am a fan of Purely Elizabeth’s use of quinoa, chia, amaranth and other grains and seeds). I also like to put my Greek yogurt in a smoothie, whether it’s a light fruit smoothie (using REAL fruit) or a protein-packed peanut butter smoothie (which usually contains chocolate or a banana – or both!) If you’re craving ice cream, Breyer’s has a natural line that really hits the spot. I’m a fan of Breyer’s Natural Vanilla, which contains just four simple ingredients. I usually top my ice cream with some melted peanut butter to pump up the protein (and because I do not think there is any one food that I love more than peanut butter).

*photo courtesy of http://www.thenibble.com/reviews/main/cheese/yogurt/images/total-0.jpg 

Other Processed Foods:

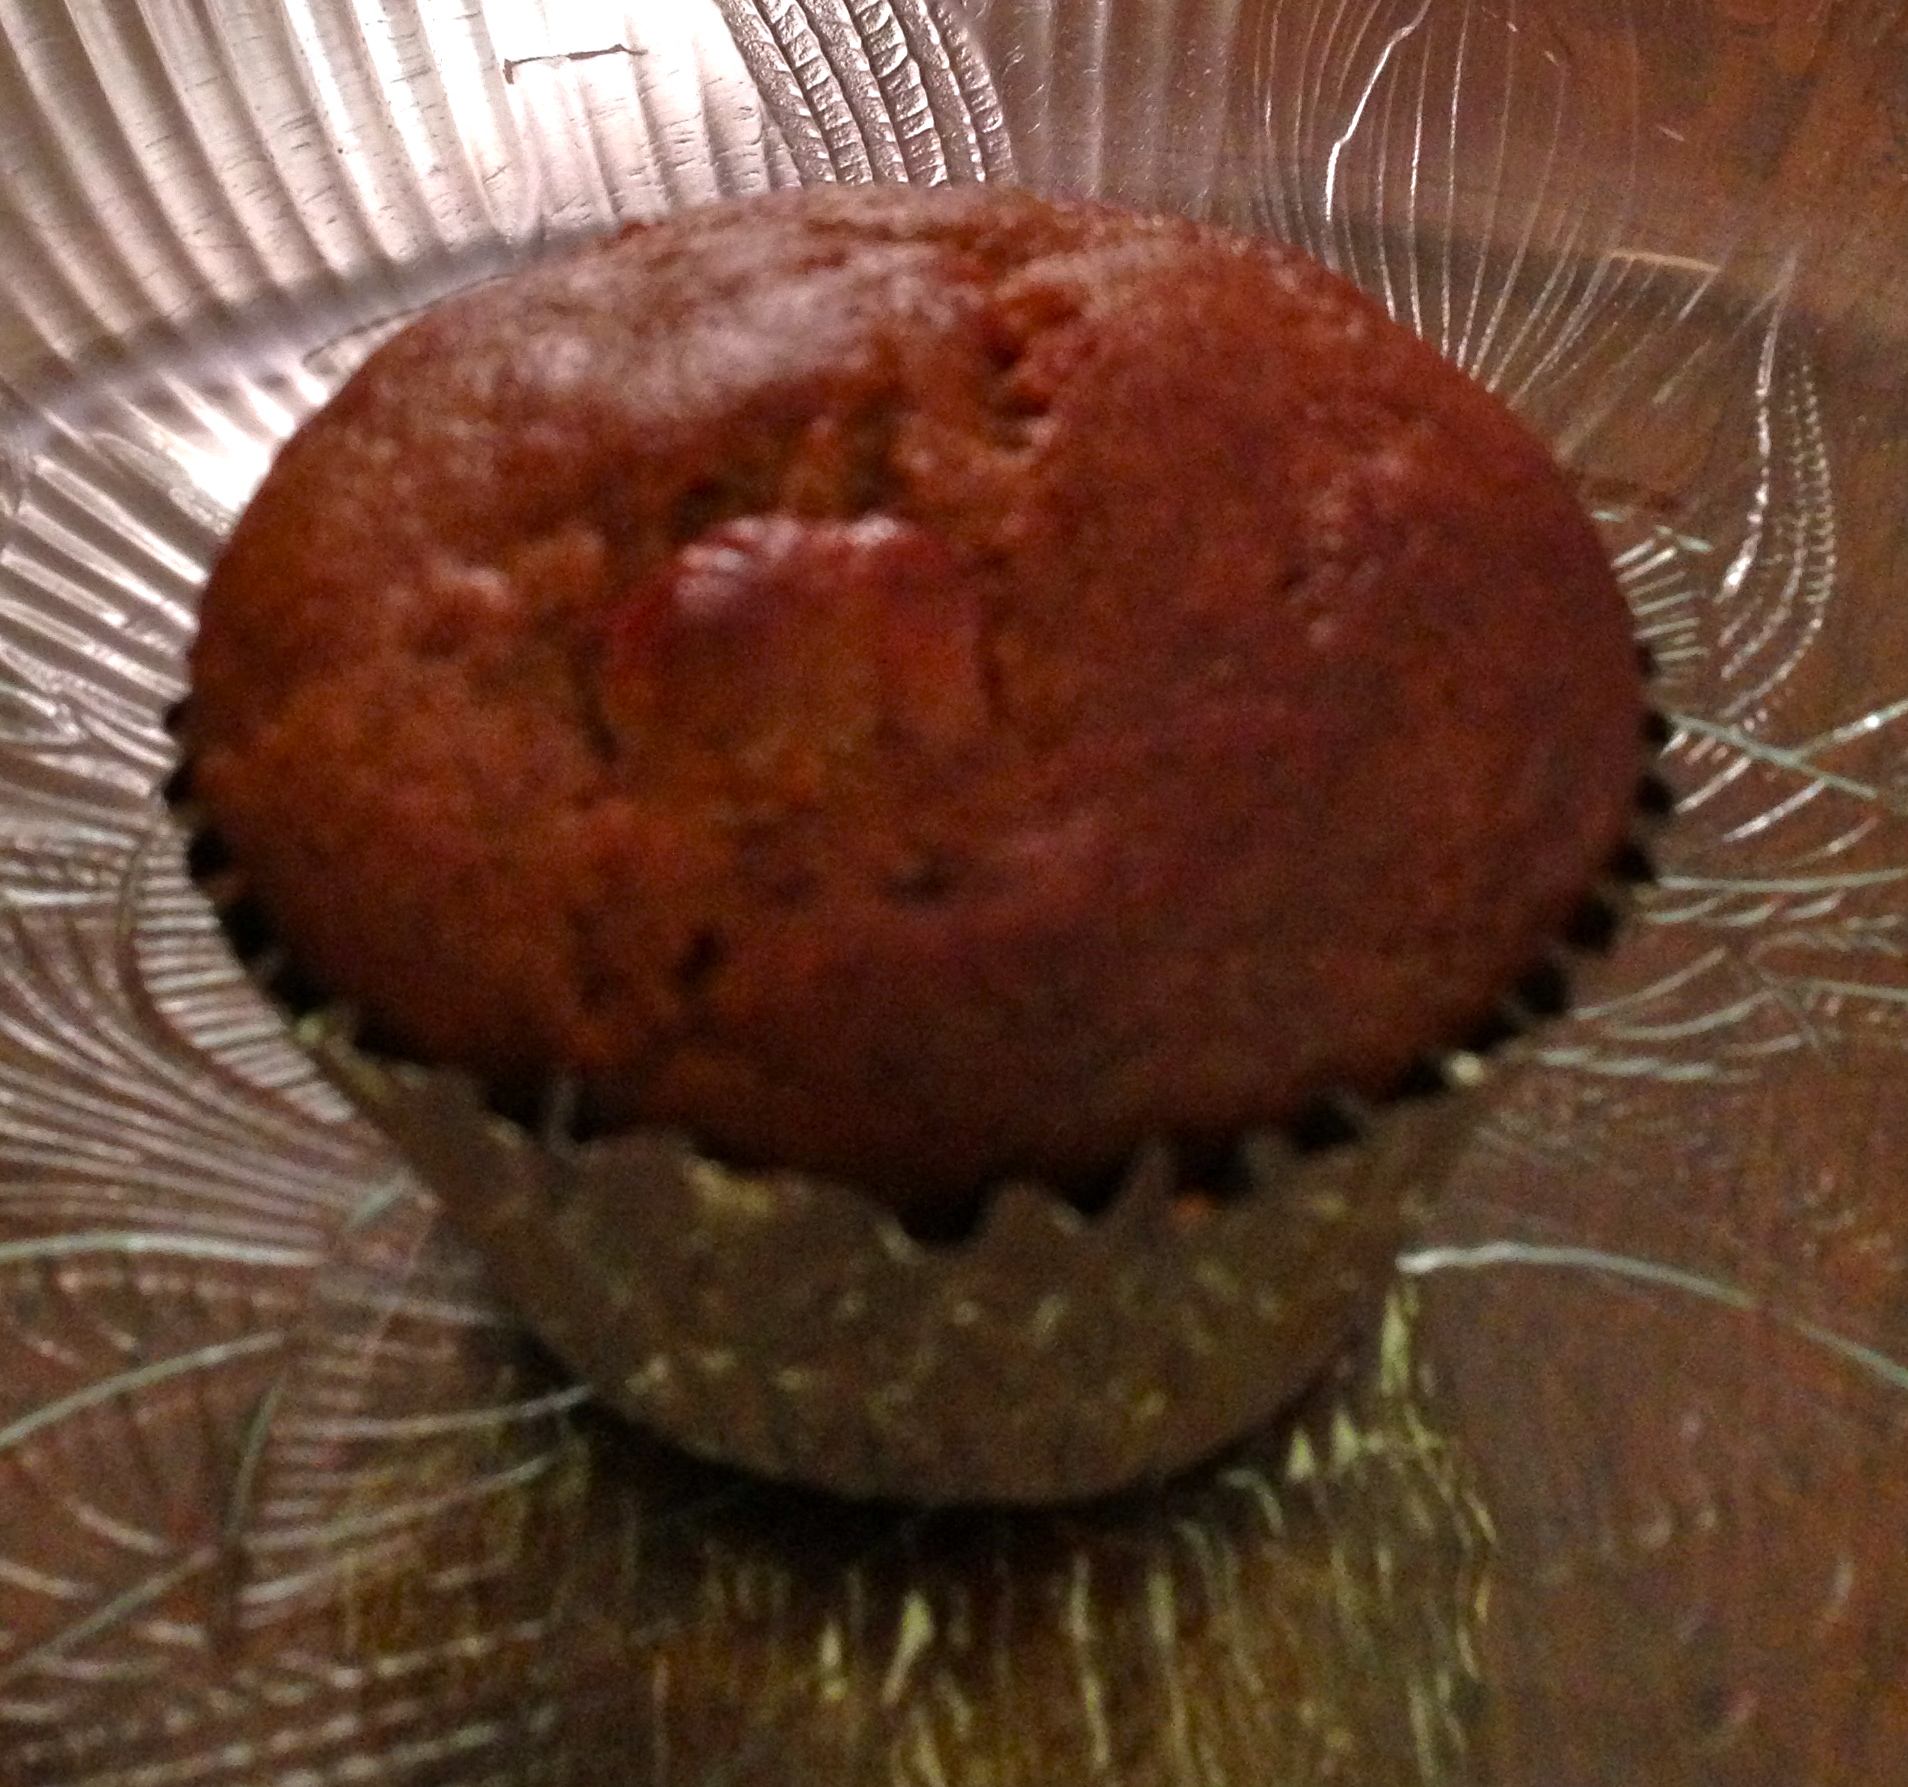
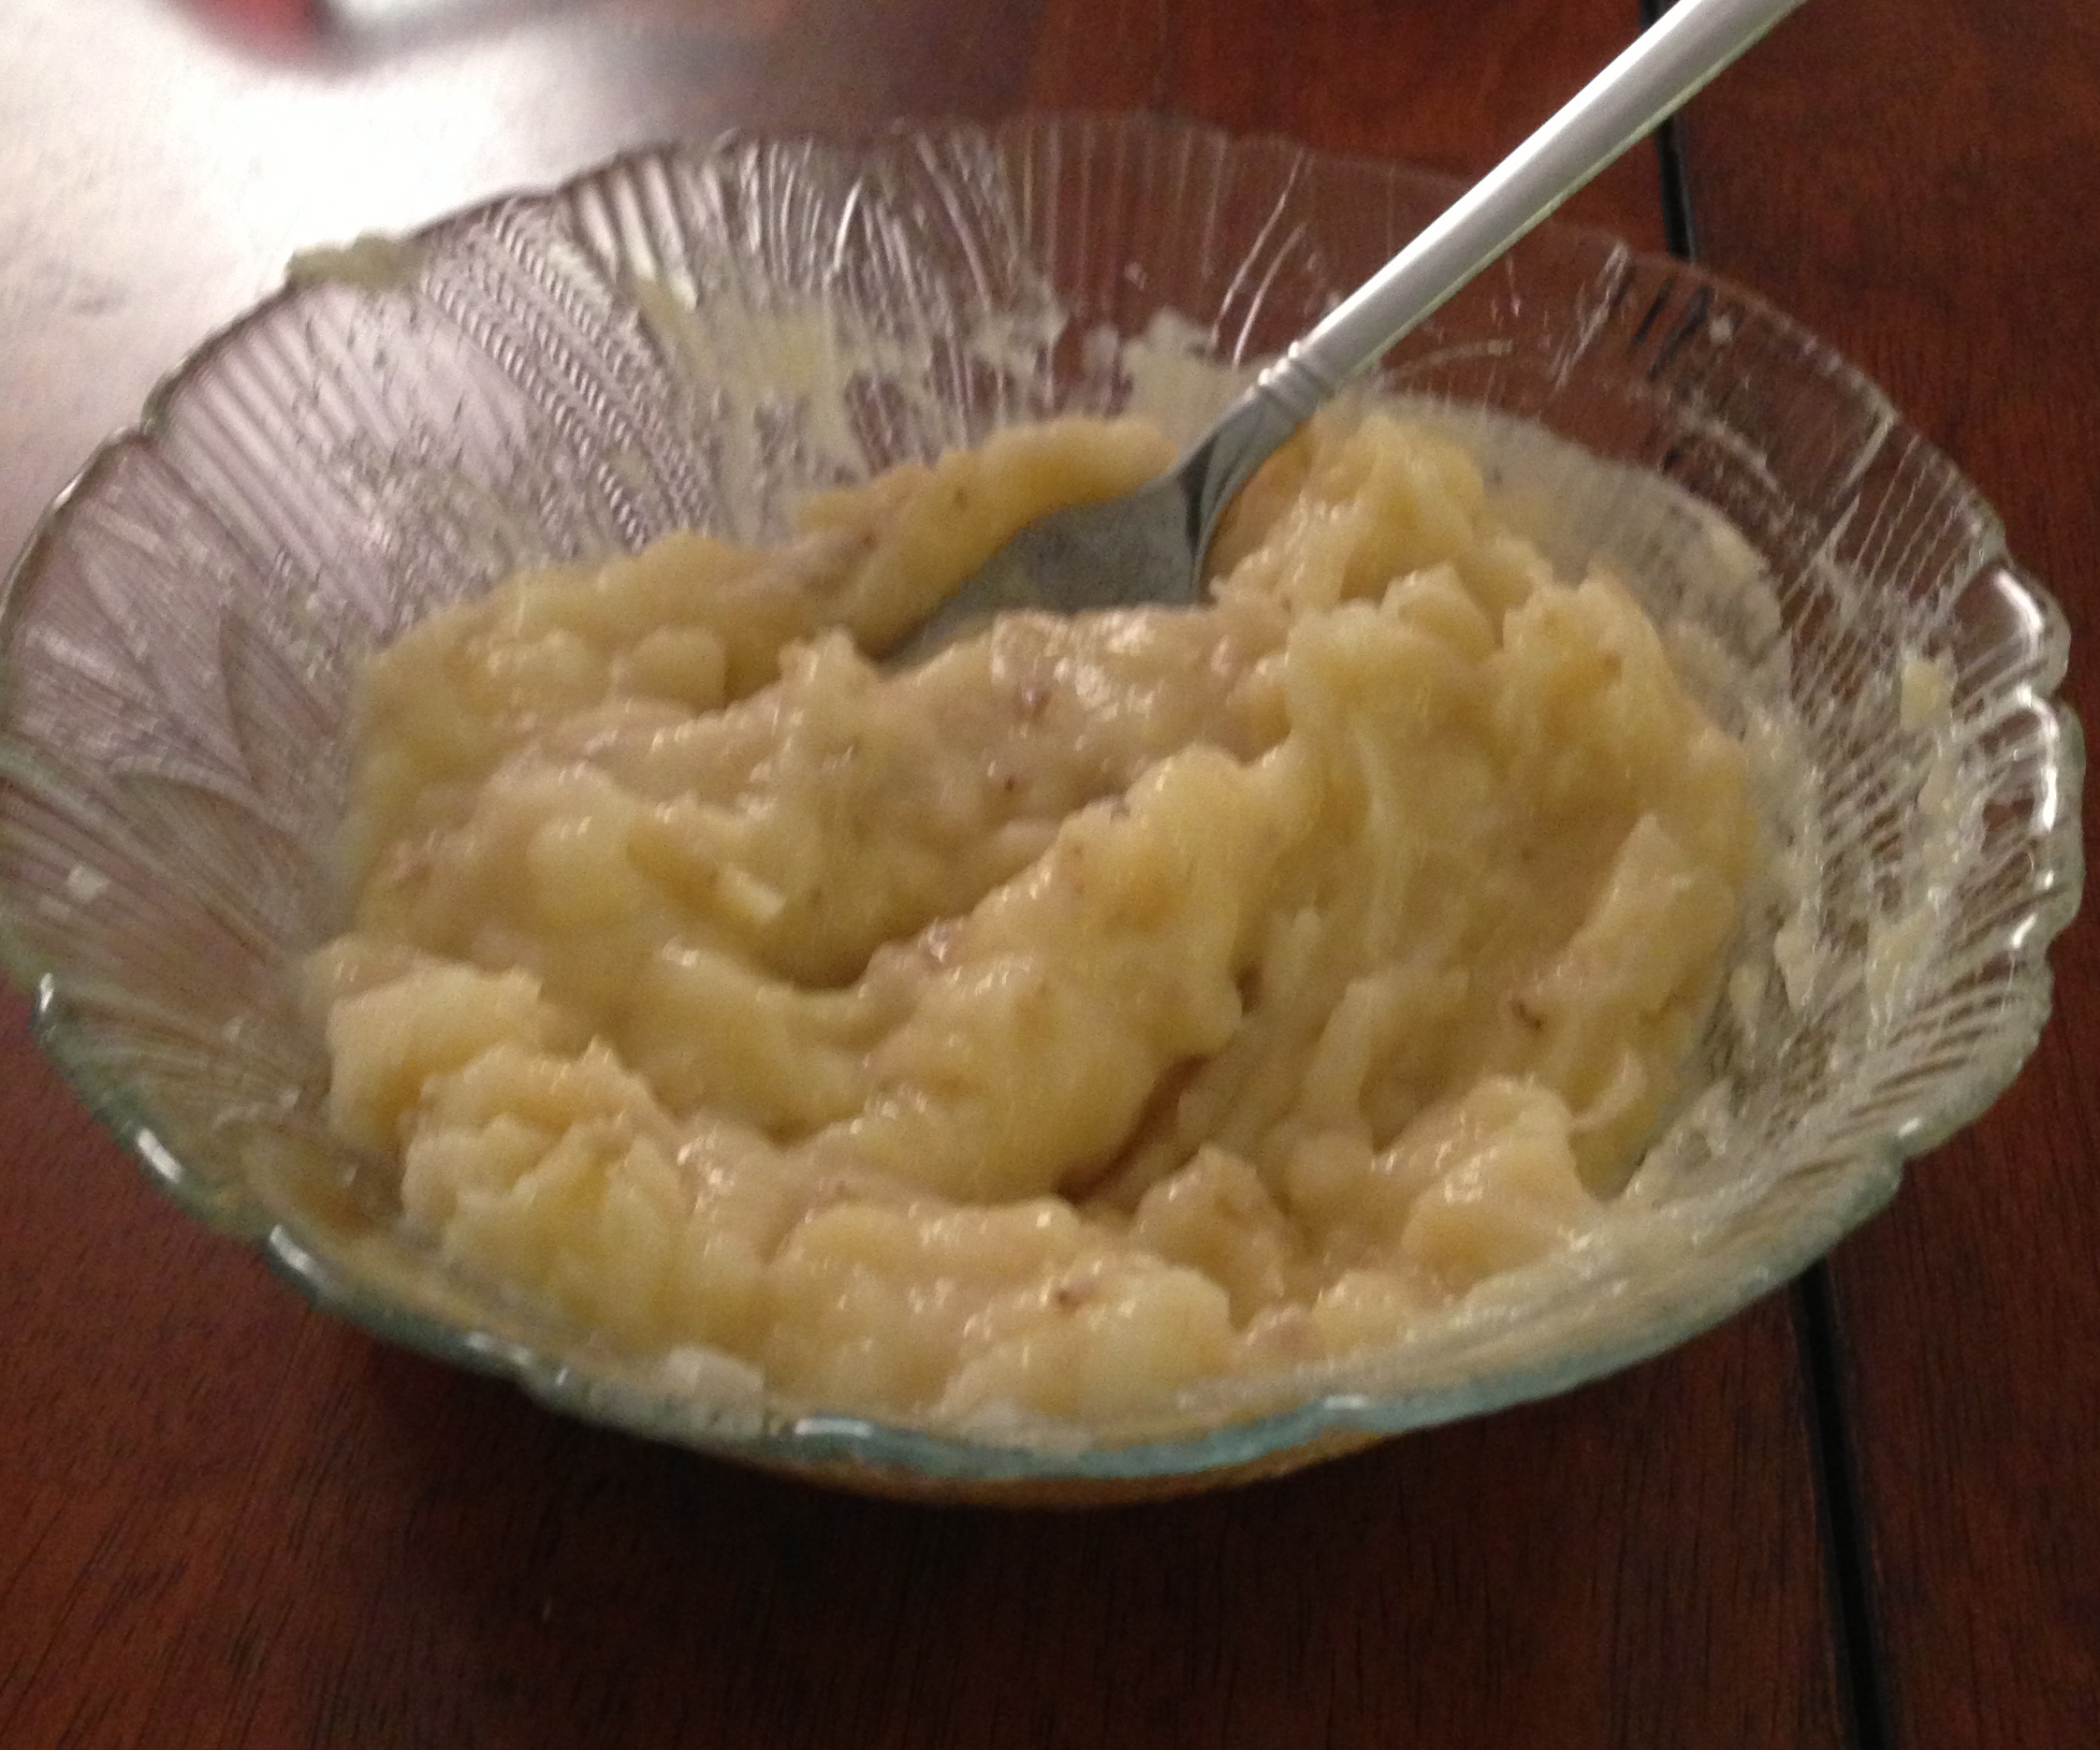
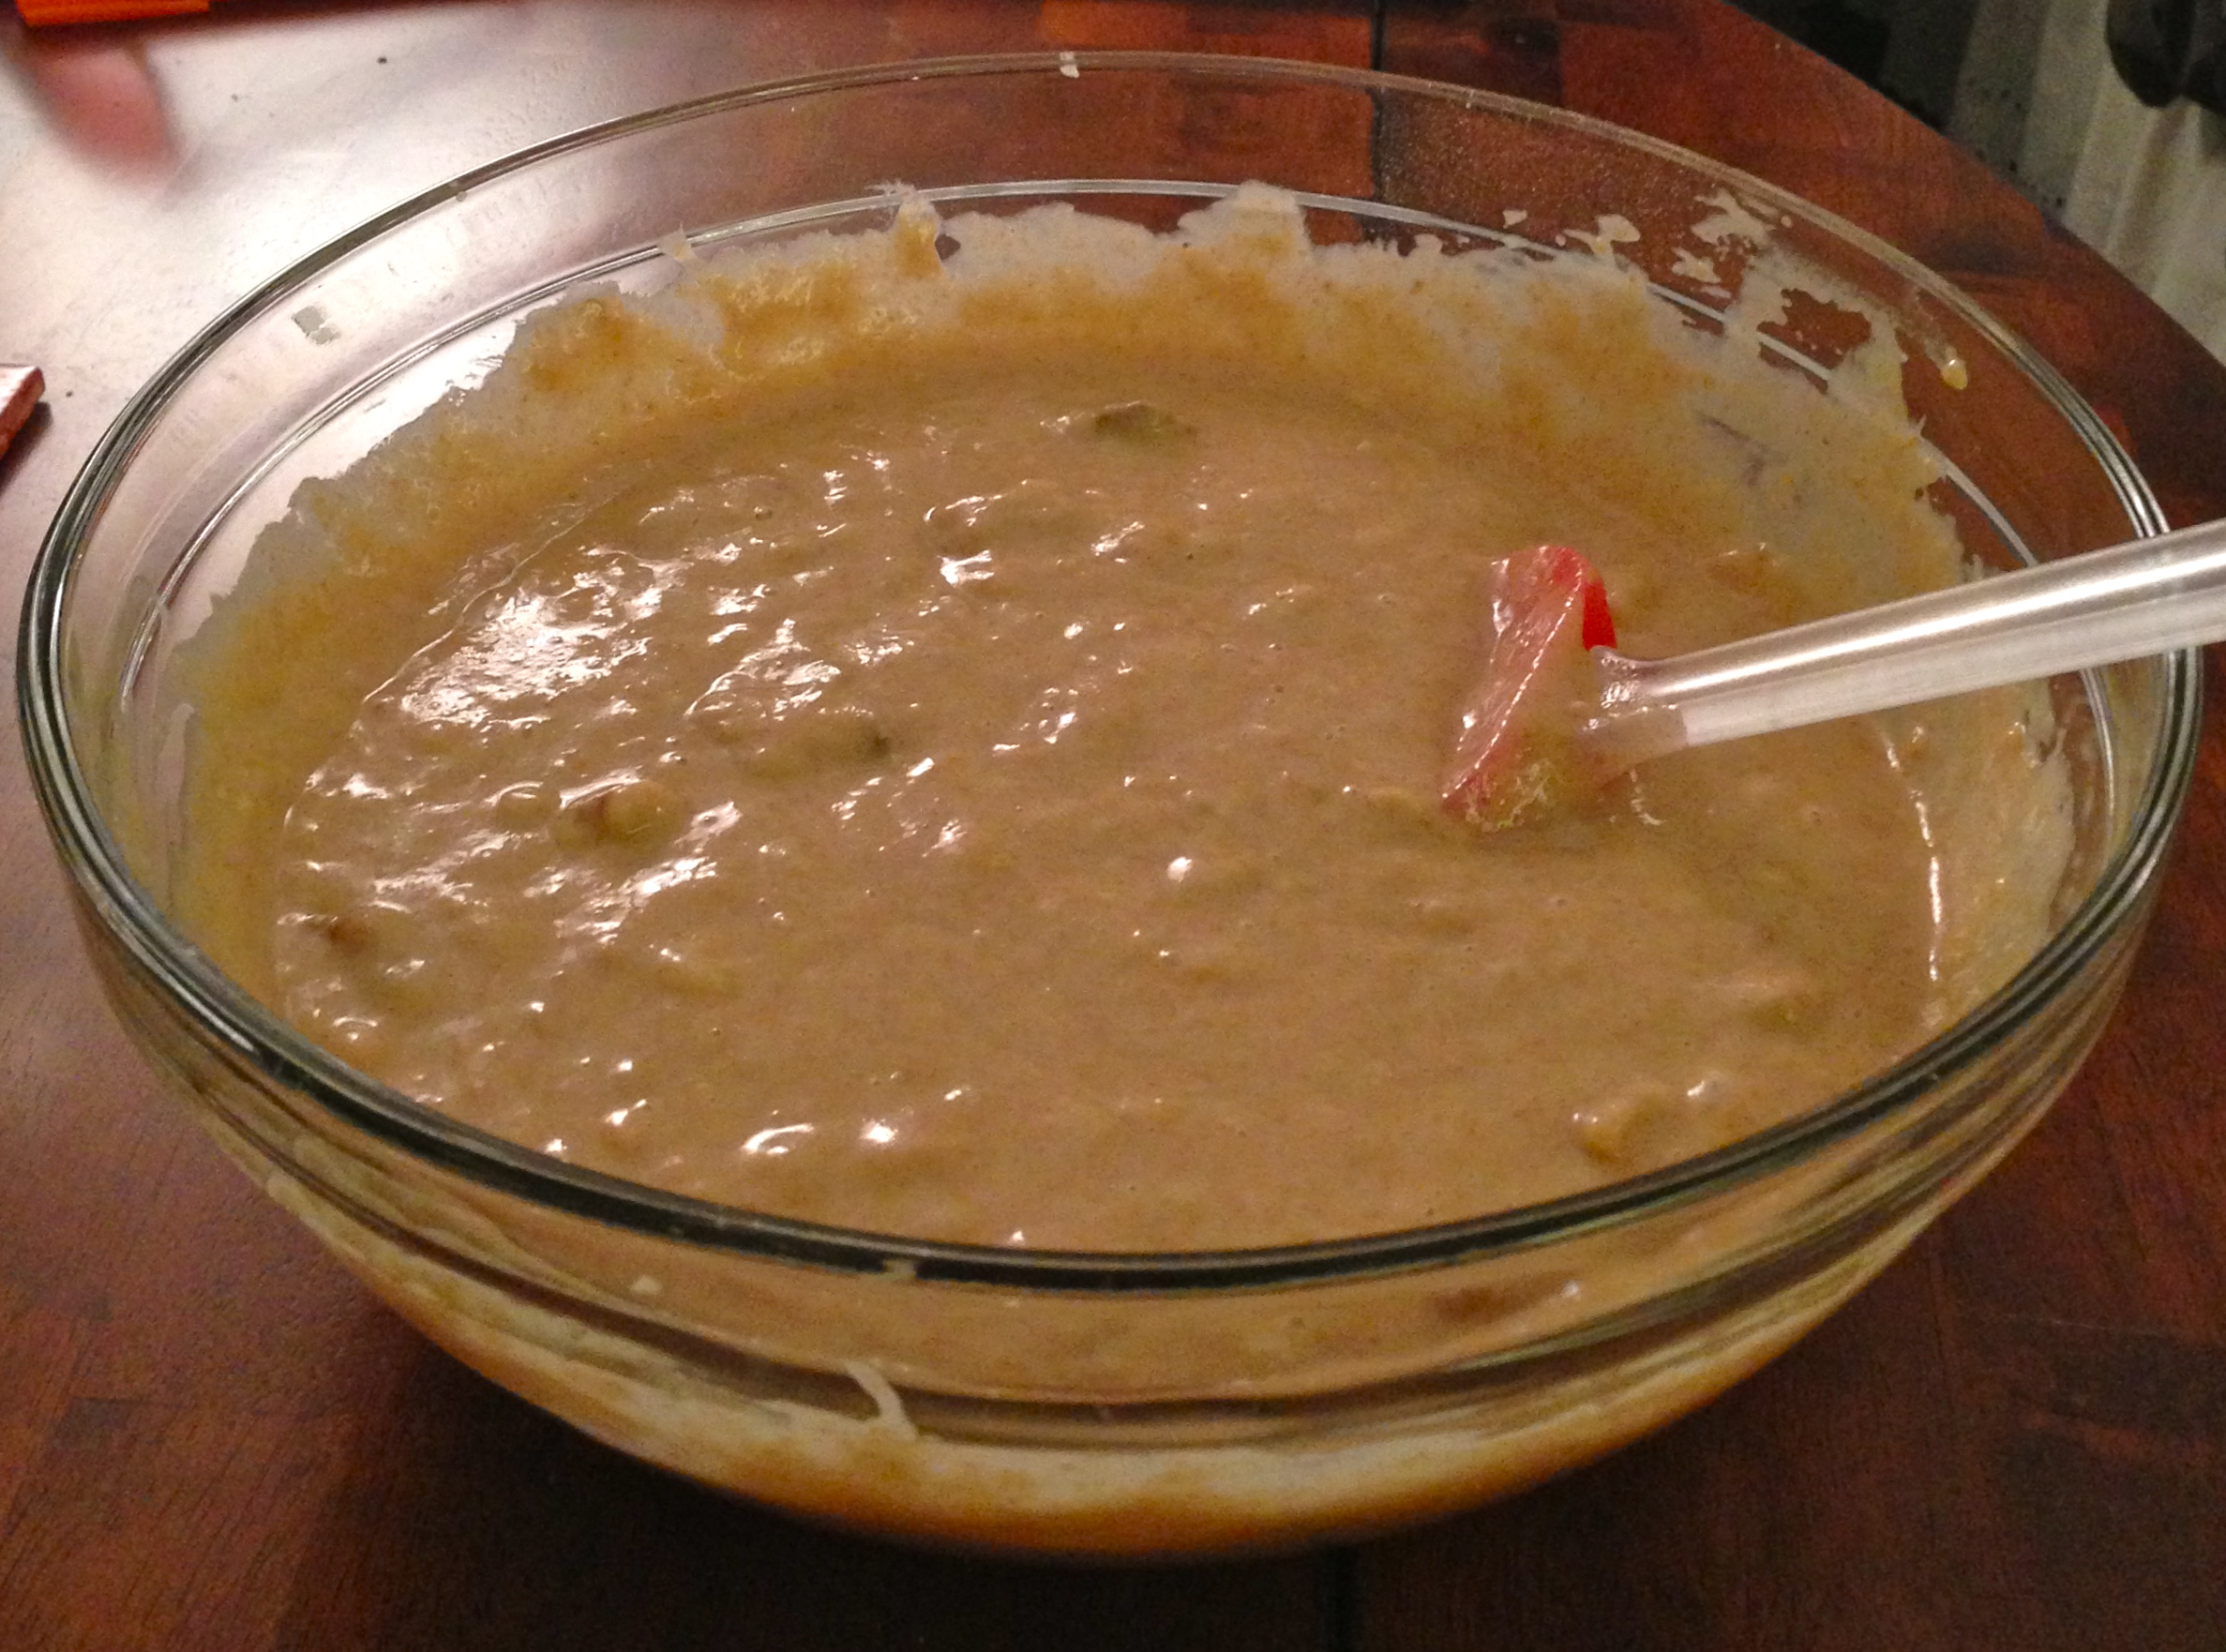
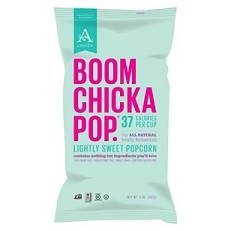
My most recent find is Boom Chicka Pop popcorn, which has a “lightly sweet” flavor that tastes just like kettle-corn. This popcorn is only 35 calories per cup, or 120 calories for each 3 1/4 C serving. Also, this snack packs in 5 grams of fiber per serving and is surprisingly not high in sodium or sugar. I also like baked chips or cape cod chips, which have considerable less fat than regular potato chips. When it comes to cakes, muffins and cookies, I tend to bake my own, since I can replace oils and other fats with more healthful ingredients, such as Greek yogurt, swap out some of the all purpose flour for whole wheat flour and ensure that I am aware of the amount of sugar I am consuming (and making sure that it is as natural as possible). It should be noted that black strap molasses actually contains calcium, so this sweetener is a wise choice. However, if you do not wish to bake your own baked goods, my advice is to read the nutrition label. Many of these commercially-sold baked goods contain partially hydrogenated vegetable oil, trans fats and a labyrinth of an ingredients label. Try to focus on foods (processed or otherwise) that you can recognize as foods. If you do not recognize the ingredient (or can’t pronounce it, like many chemicals and food additives used), it is likely not worthy of entering your body.

boom pop

*photo courtesy of http://www.plummarket.com/media/catalog/product/cache/1/image/9df78eab33525d08d6e5fb8d27136e95/8/9/892773000697_1_1.jpg 

Parting Words…

I hope I cleared up some of the rumors and preconceived notions about snacks. I like to follow the “80/20 rule” – make sure that 80% of your diet provides the nutrients you need and you can allow about 20% of your diet to be wiggle room. Your healthy relationship with food can involve snacking! In fact, snacking is a great complement to an active, healthy lifestyle. You must always remember to fuel your body – it works hard for you!

Fall For This Treat: Pumpkin Pancakes!

Pumpkin Pancakes:


In case you couldn’t tell, I’m on a pumpkin kick. That, and I had leftover pumpkin that I could not let go to waste! On a lazy Sunday morning, I decided to make these pancakes with a fall twist. These pumpkin pancakes contain whole wheat flour, rolled oats, 0% fat Greek yogurt and skim milk, so they’re slimmed down and packed with autumn-y goodness. Pumpkin contains beta-carotene, which your body can convert to vitamin A. Also, while pumpkin tastes hearty, each 1/2 C serving contains only 40 calories, 9 g carbohydrates and packs in 5 g of fiber! This autumn superfood is one of my favorite things about fall – now, if only it actually felt like fall outside and were chilly enough to start wearing my boots! Until then, I will just enjoy these pumpkin pancakes!

IMG_0157

Ingredients: (serves 6, makes about 12-15 pancakes depending on how small or large you make them)

1/2 C whole wheat flour

1/2 C all purpose flour

3/4 C skim milk

1/2 C rolled oats

1.5 tsp baking powder

1/2 C honey

2 Tbsp plain, 0% fat Greek yogurt

dry ingredients

dry ingredients

1/2 C pumpkin puree (canned, or make your own!)

1 large egg

1 egg white (large)

1 tsp cinnamon

dash nutmeg

dash allspice dash salt (about 1/4 tsp or less)

1 Tbsp butter or margarine, whichever you prefer (*note: this is used to cook the pancakes on the heated pan – you can also use a non-stick vegetable oil cooking spray, but I tend to have better results using the butter)

all ingredients whisked together

all ingredients whisked together

Recipe:

1. Combine dry ingredients in large bowl (whole wheat flour, all purpose flour, rolled oats, baking powder, spices)

2. Scramble 1 large egg and 1 large egg white in small, separate bowl. Set aside.

3. Comine all wet ingredients in a separate, medium sized bowl (pumpkin puree, Greek yogurt, milk, honey. Add eggs and stir until well-combined and relatively smooth.

4. Add about 1 tsp butter to pan or griddle and warm over low-medium heat. (note: you will likely need to keep adding more butter every few rounds or so – keep taking from the 1 Tbsp. Also, you may not need to use all of it.)

5. Add wet ingredients to dry ingredients (you will want to add them to the large bowl!) and whisk all ingredients together until well combined.

almost ready to flip! tip: look for air bubbles - that indicates the pancakes are probably done on the bottom

almost ready to flip! tip: look for air bubbles – that indicates the pancakes are probably done on the bottom

6. Spoon the batter on to the pan or griddle. (*note: approximately 2 large spoonfuls of batter could be used per pancake in order to make silver dollar-sized pancakes. Make sure that batter is spread in a flat circle.  Cook each side approximately 5-10 minutes, or until browned. Continue this until all of the batter is cooked. This recipe will make about 12-15 pancakes, depending on the size of the pancakes and is intended to serve 6 people. These pancakes can be saved in the fridge for 1-2 days or frozen in an air-tight bag or container, with wax paper separating each pancake for easy defrosting.

7. Serve warm and enjoy plain, or with maple syrup, fruit, roasted nuts or any other topping you’d like!

one side, done! just a few more minutes until they're ready to eat!

one side, done! just a few more minutes until they’re ready to eat!

The Goods: What’s Inside? (Nutritional analysis is based on 6 servings, 2 pancakes per serving, dry, for a batter that makes 12 pancakes)

Nutritional Analysis per Serving:

Calories 239, Fat 3 g, Saturated Fat 1 g, Cholesterol 32 mg, Sodium 173 mg, Carbohydrates 48 g, Fiber 3 g, Sugar 26 g, Protein 7 g, Calcium 152 mg

No-Muffin-Top Pumpkin Muffins

Pumpkin Muffins

I know I haven’t written in awhile, but I will make it up to you with these amazing pumpkin muffins that only taste decadent. These muffins are under 150 calories each and are just sweet enough to satisfy that craving, while not being too sweet to have with breakfast. These muffins taste and smell every bit like fall and offer a comfort-food feel with an extra-comforting fact: they are unlikely to give you a muffin top of your own! Whole wheat flour, honey, 0% fat plain Greek yogurt and pumpkin puree slim down these muffins so you can fuel up and feel good about it!

IMG_0149

Ingredients: (yields 24 muffins)

2 C whole wheat flour

1 C all purpose flour

1.5 tsp baking soda

1/2 tsp baking powder

2.5 tsp cinnamon

1 tsp nutmeg

1 tsp salt

2/3 C 0% fat plain Greek yogurt (I like Fage, it gives the pumpkin batter a fluffy texture)

2 large eggs

1 large egg white (*note: the 3 eggs total can come from 3 eggs using 2 eggs and 1 egg white or from 2 eggs and the equivalent of one egg white from a carton of egg whites)

2 C canned pumpkin puree  (or bake your own!)

1 2/3 C honey (*note: this amount is used to make the batter lightly sweet. If you prefer your muffins to be sweeter, you may want to use 1 3/4 C honey. Just note that this will increase the calorie and sugar content of these muffins)

Wet Batter, Beaten

Wet Batter, Beaten

mousse-like batter, ready to be baked!

mousse-like batter, ready to be baked!

Recipe:

1. Preheat oven to 325 degrees F.

2. Add all dry ingredients ( cinnamon, nutmeg, salt, whole wheat flour, all purpose flour, baking powder, baking soda) to a large bowl. Stir with spoon until well combined.

3. Combine pumpkin puree, Greek yogurt and honey in separate, large bowl.

4. Crack 2 eggs into separate, small bowl. Use remaining egg to separate egg white (or, if you’re using a carton of egg whites, pour the equivalent of 1 large egg). Scramble with fork until yolk and white are well combined.

5. Add eggs to wet ingredient mixture (large bowl). Beat approximately 30-45 seconds, until well combined and fluffy.

6. Add half of the dry ingredients into wet mixture and stir. Add remaining dry ingredients and stir until batter is well combined. The batter should appear mousse-like.

oven-ready!

oven-ready!

7. Line muffin tin with muffin/cupcake liners and fill each liner with batter, using a spoon. In order to get a big muffin top, the batter should come close to completely filling the liner.

8. Bake at 325 degrees F for approximately 25-30 minutes. (*note: oven cooking temperatures and times may vary. Make sure that your muffins are cooked by placing a toothpick in each muffin once baked and making sure that the toothpick comes out clean.)

9. Serve warm or at room temperature and enjoy!

The Goods: What’s Inside? (nutritional analysis is for one muffin)

Calories 147, Fat 1 g, Saturated Fat 0 g, Cholesterol 16 mg, Sodium 195 mg, Carbohydrates 33 g, Fiber 2 g, Protein  3 g, Calcium 27 mg

Fresh, out-of-the-oven pumpkin muffins!

Fresh, out-of-the-oven pumpkin muffins!

Squeeze Some Flavor On To That Chicken!

Lemon Chicken with Spices

This simple dish is a staple of mine that I rely on when I’m too busy to make an intricate meal. With only a few simple ingredients, this dish manages to have a ton of flavor and skimps on fat. Even though very little oil is used, the chicken stays juicy because of the lemon juice and marinates in flavor while it cooks. Next time you’re in a time crunch, try this simple dish and fuel up with protein! Don’t forget to round out the meal with healthful sides, such as a salad or roasted vegetables, to amp up the fiber, vitamin and mineral content of this dish!

Don't you worry. That's not a pool of oil in the skillet - it's lemon juice!

Don’t you worry. That’s not a pool of oil in the skillet – it’s lemon juice!

Ingredients (serves 2):

8 oz chicken breast

1 Tbsp olive oil

1/8 tsp garlic powder

1/8 tsp ground black pepper

dash salt

dash cayenne pepper (to taste)

juice from 1 lemon

IMG_0636Directions:

1. Heat oil in medium sized skillet over medium heat.

2. Place chicken in skillet. Slice lemon in half and squeeze the juice from each half over the chicken. A small pool of lemon juice will pool in the skillet.

3. Add spices to chicken. Place cover over skillet and cook for 10 minutes. Remove cover, flip chicken and replace cover. Cook another 5-10 minutes, or until chicken is cooked through (it should reach an internal temperature of 165 degrees F). Serve.

*note: this dish can also be made in the oven by placing all ingredients in a casserole dish and baking at 350 degrees for approximately 15-20 minutes.

Nutritional Analysis Per Serving:

Calories 191 calories, Fat 9 g, Saturated Fat 2 g, Cholesterol 66 mg, Carbohydrates 2 g, Fiber 0 g, Sugar 1 g, Protein 26 g, Sodium 152 mg, Calcium 15 mg

Eggplant Parmesan

Eggplant Parmesan

This healthy, vegetarian twist on the classic chicken parmesan will have you fueling up with lighter fare! Eggplant is a hearty vegetable that will fill you up with fiber and plenty of vitamins and minerals. Add sauce and cheese you and you will be eating a decadent Italian dish that tastes fresh, whole and hearty, without overdoing it on carbs or saturated fat.

IMG_0619

Ingredients (serves4):

1 eggplant (approximately 2 lbs.)

12 oz low sodium tomato sauce

4 oz shredded, part-skim mozzarella cheese

2 Tbsp olive oil

nonstick vegetable oil cooking spray

Directions:

1. Slice eggplant into 1/4 inch-thick slices (or as desired). Remove skin from eggplant at this step if you choose (or you can leave the skin on to reap extra nutrients!)

2. Spray nonstick vegetable oil cooking spray on medium or large, non-stick pan and add olive oil. Warm over medium heat.

3. Add eggplant slices and cook until browned (about 5-7 minutes on each side). While eggplant is cooking, preheat oven to 350 degrees F.

4. Remove eggplant slices from pan once cooked and place on plate covered with paper towel to drain excess oil. Spray casserole dish with nonstick vegetable oil cooking spray. Layer eggplant with sauce and cheese on top and repeat as necessary, depending on size of casserole dish.

5. Bake in oven until cheese is melted, approximately 10 minutes. Serve hot and enjoy!

The Goods: What’s Inside?

Nutritional Analysis Per Serving:

Calories 211, Fat 12 g, Saturated Fat 5 g, Cholesterol 20 mg, Carbohydrates 18 g, Fiber 7 g, Sugars 9 g, Protein 9 g, Calcium 230 mg, Sodium 237 mg

A Healthy Game Day Menu That Is Sure To Score!

Superbowl Sunday

Game day usually means super sized portions, fried, greasy food, heavy dips, beer and a whole lot of couch sitting. Don’t let cheering on your team mean falling into these common traps. Defend your right to eat healthfully and serve up some grub that is sure to score this Superbowl Sunday!

IMG_0608

A Healthy Alternative to Hot Wings

IMG_0609Baked chicken breast with hot sauce has all the taste of hot wings without all of the fat! Fuel up with protein and hot sauce and resist the urge to to overeat – lean protein will leave you feeling satiated, so you won’t feel the need to reach for extra snacks. Also, some research suggests that eating hot, spicy foods cuts food intake. Simply marinate chicken breasts in Tabasco sauce (approximately 2-3 Tbsp per 16 oz. of chicken breast depending on how spicy you like it) on a baking sheet lined with parchment paper and bake at 350 degrees for approximately 25 minutes, or until cooked through. Cut into easy-to-eat strips and serve with ranch or blue cheese dressing, or enjoy plain! Serve with light beer to cut the spice and keep calories in check.

Nutritional Score Per Serving (1 serving = 4 oz chicken breast with 1/2 Tbsp Tabasco sauce)

Calories 124 calories, Fat 1 g, Saturated Fat .5 g, Cholesterol 66 mg, Carbohydrates 0 g, Fiber 0 g, Sugar 0 g, Protein 26 g, Calcium 12 mg, Sodium 118 mg

Dip Into Some Healthier SnacksIMG_0604

Guacamole is a healthy dip that serves up tons of vitamins, minerals and healthy, unsaturated fats. Just be mindful of portion size – one serving is equal to 1/4 of an avocado. Nonetheless, this dip offers up satiating fiber and healthy fats that will take the edge off your hunger so you can focus on the game! Use this recipe from a previous blogpost to score some major points with your fellow game watchers:

Ingredients (serves 6)

2 avocados, soft

1/4 red onion

1/2 medium sized tomato

1/2 lime

1/8 tsp kosher salt

1/2 jalepeno pepper, cut lengthwaise

Directions:

1. Cut each avocado in half, lengthwise. Remove large pit from each avocado. Remove inside of avocado with spoon and place in large bowl. Discard skin of avocado.

2. Mash avocado until soft and slightly chunky  (I like to use a potato masher)

3. Dice red onion. Add to bowl with avocado.

4. Dice tomato. Add to bowl.

5. Remove seeds and wash jalepeno pepper. Mince pepper and add to bowl. Mix all ingredients together.

6. Add salt and squeeze the juice of 1/2 a lime over guacamole. Mix and chill until cold (approximately 20 minutes or longer). Enjoy!

Nutritional Score Per Serving:

Calories 114, Fat 10 g, Saturated Fat 2 g, Cholesterol 0 mg, Carbohydrates 7 g, Fiber 5 g, Sugar 1 g, Protein 2 g, Sodium 55 mg, Calcium 11 mg 

IMG_0606Other great dip ideas?

Substitute Greek yogurt for sour cream in recipes such as onion dip, spinach and artichoke dip, or any other creamy dip you desire! Greek yogurt contains less fat and more protein than sour cream, but offers a tangy, creamy taste so your friends won’t even notice the difference. Use crudite to scoop up the guac and the Greek yogurt dips, or substitute chips for baked chips, which contain less fat. These tricks will help you to fill up with protein and fiber, while cutting back on unwanted fat!

The Sweet Taste of Victory

Celebrate your team with a sweet taste of dessert, but don’t fear that has to mean sabotaging your healthy day. Some tips? Make brownies by substituting either applesauce or Greek yogurt for canola oil. Offer a fresh fruit salad, cut up dark chocolate bark, or make a dark chocolate fondu and use strawberries, bananas and other fruits to scoop up the chocolate-y goodness! Also, keep healthy grab-able snacks out throughout the day, such as almonds, pistachios or other nuts so guests can nibble without the fear of extra jiggle!  Don’t let game day food stress you out – relax and enjoy the day with these healthy tips that are sure to score major points with your fellow fans!